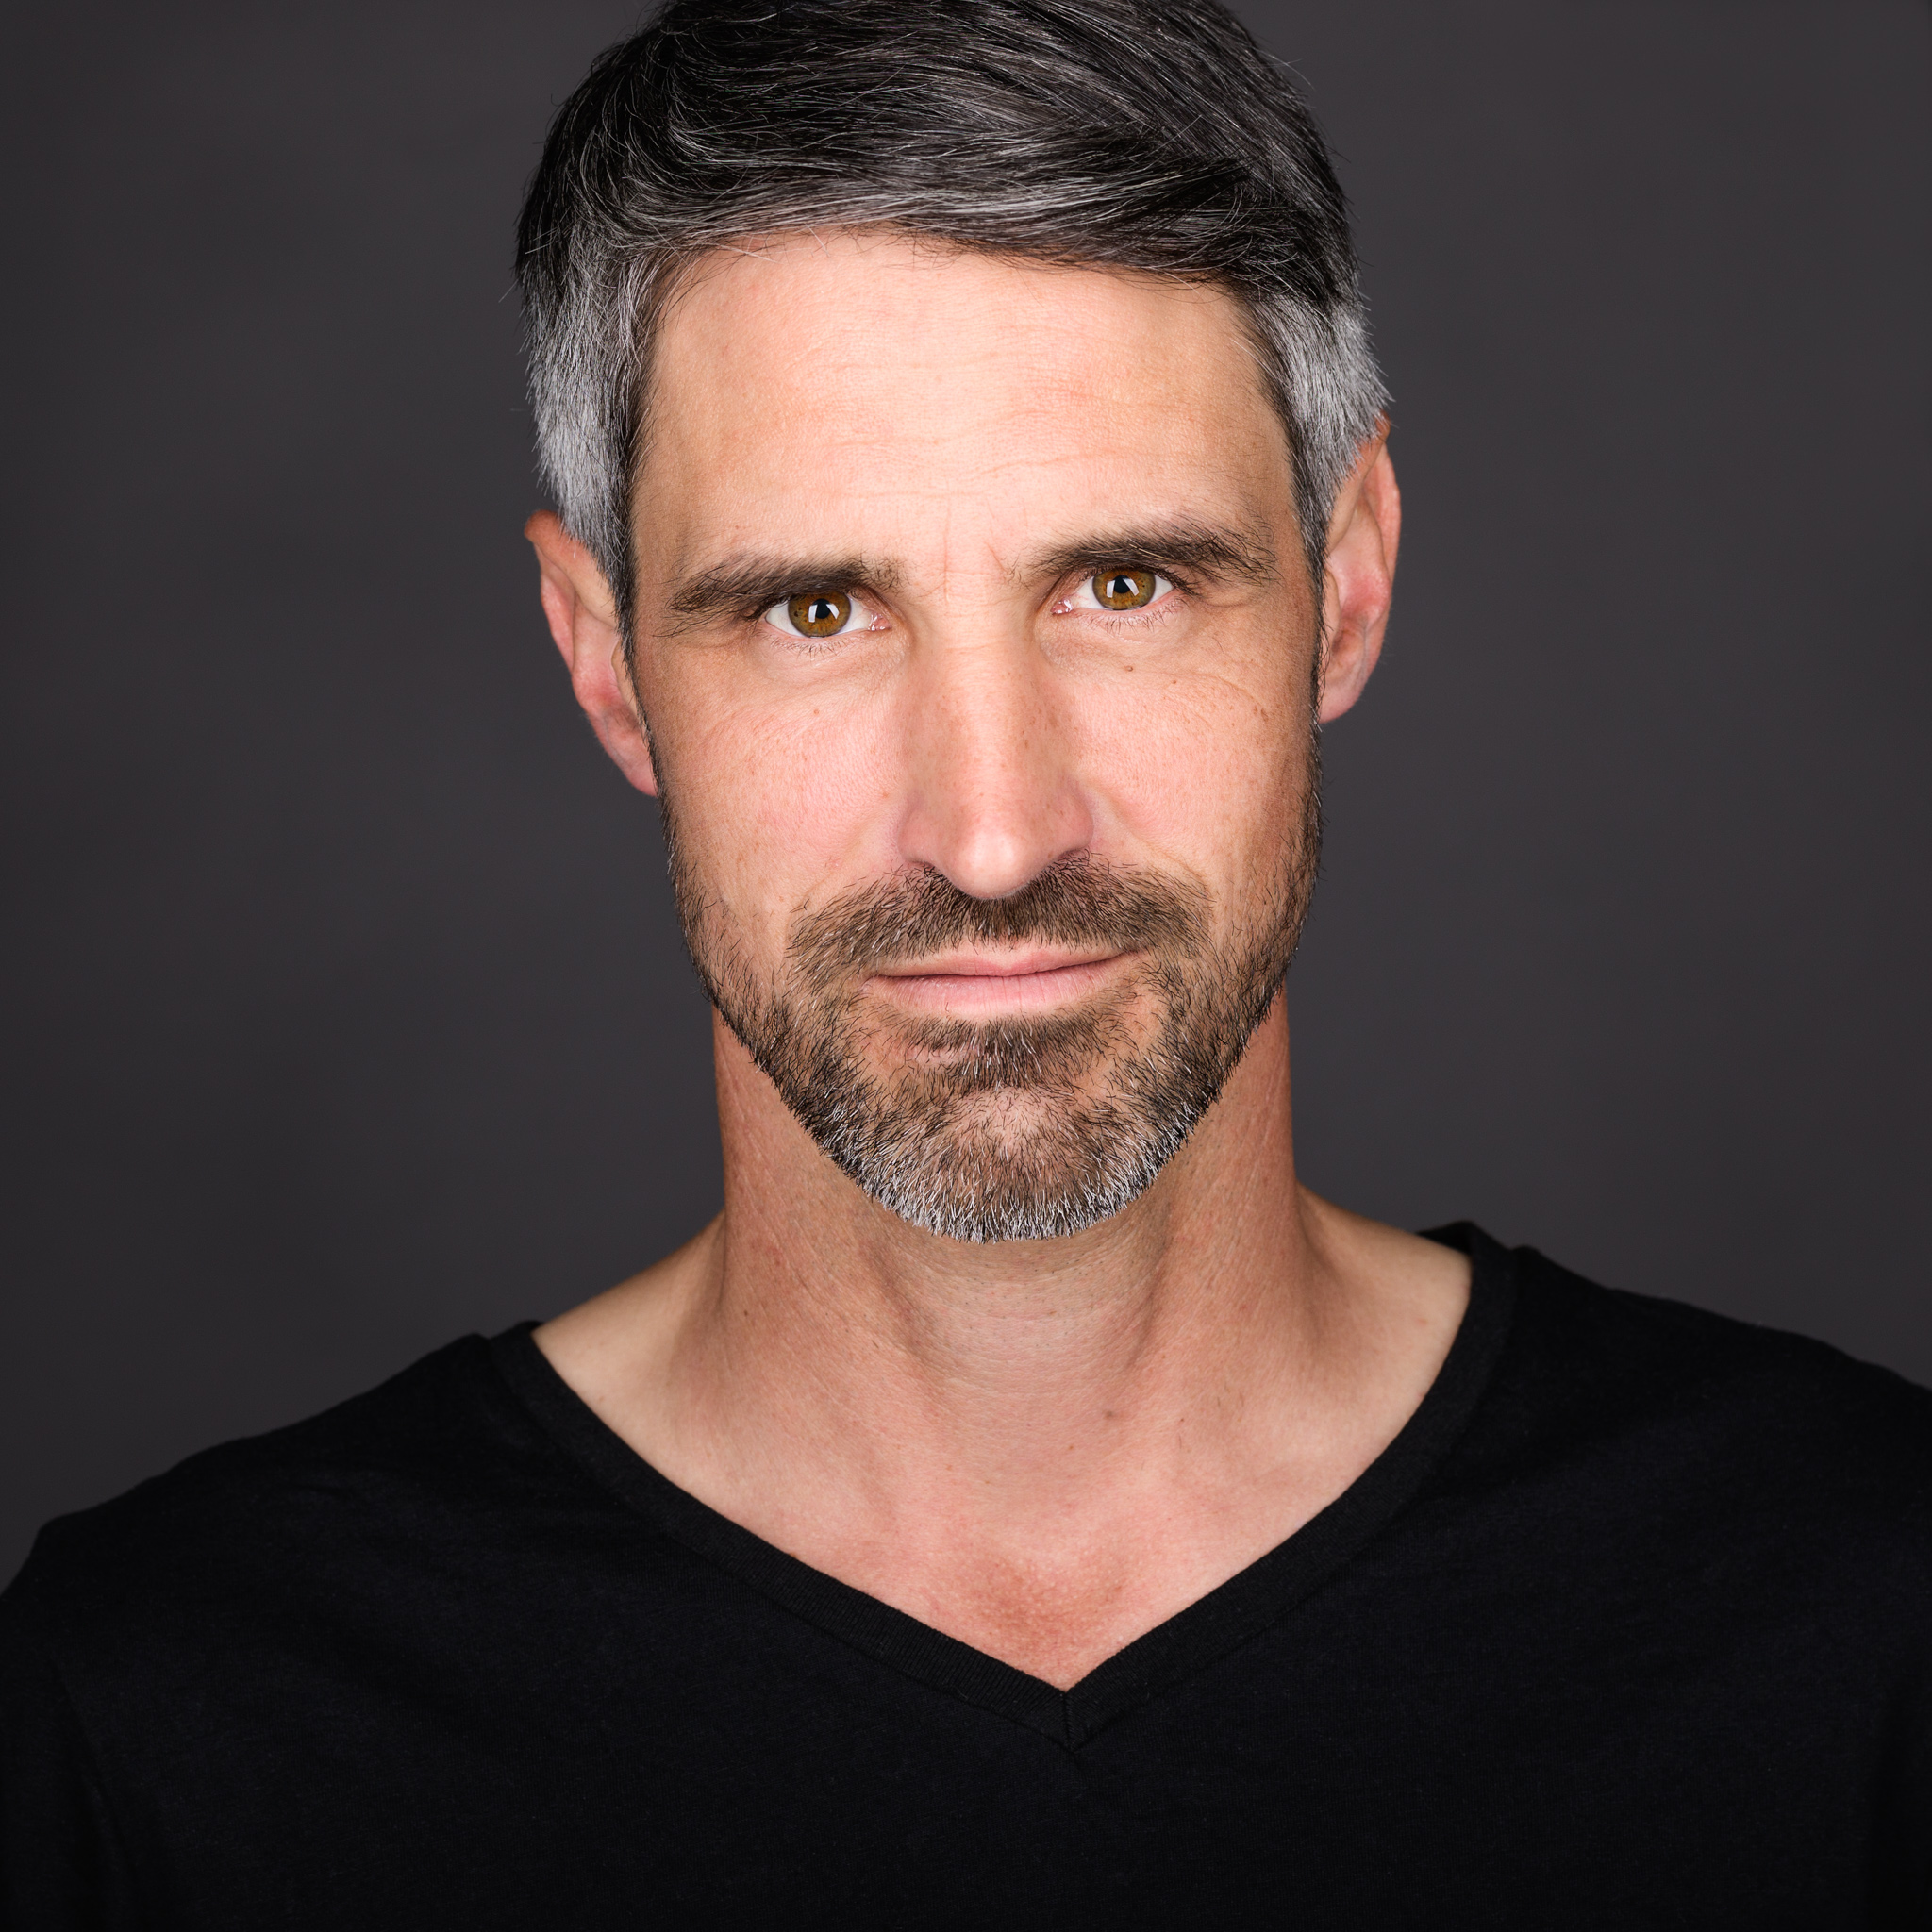
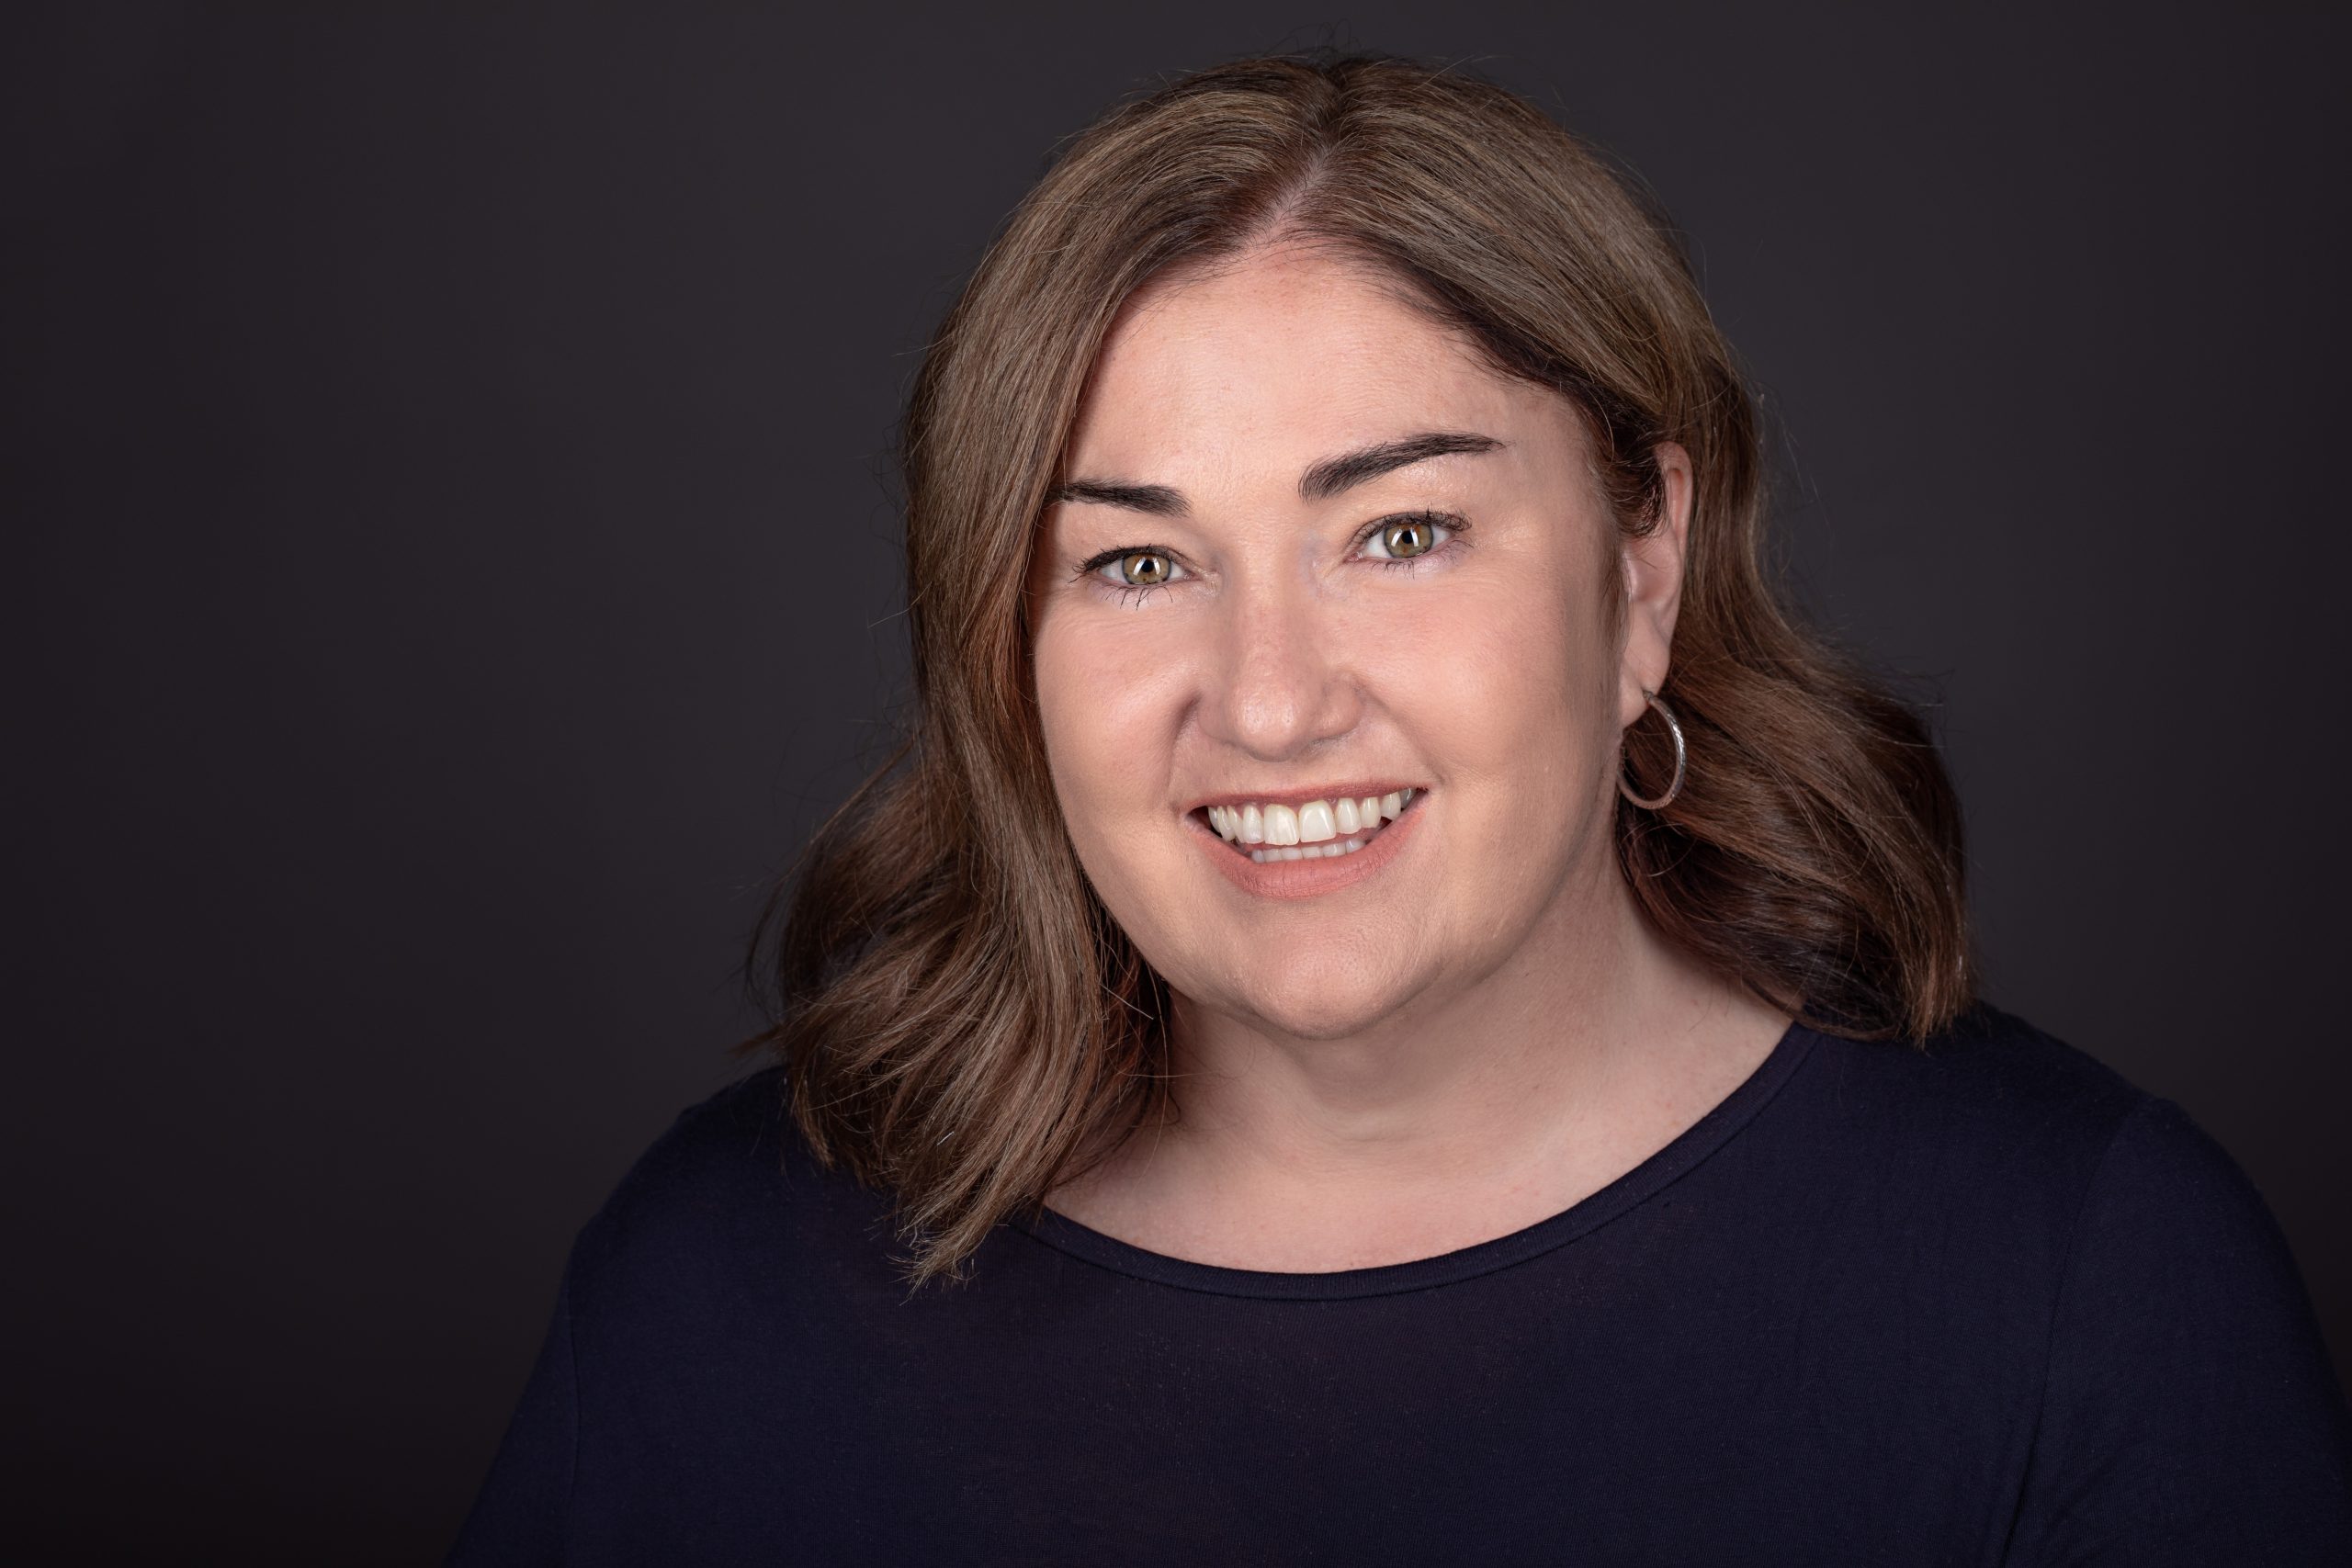
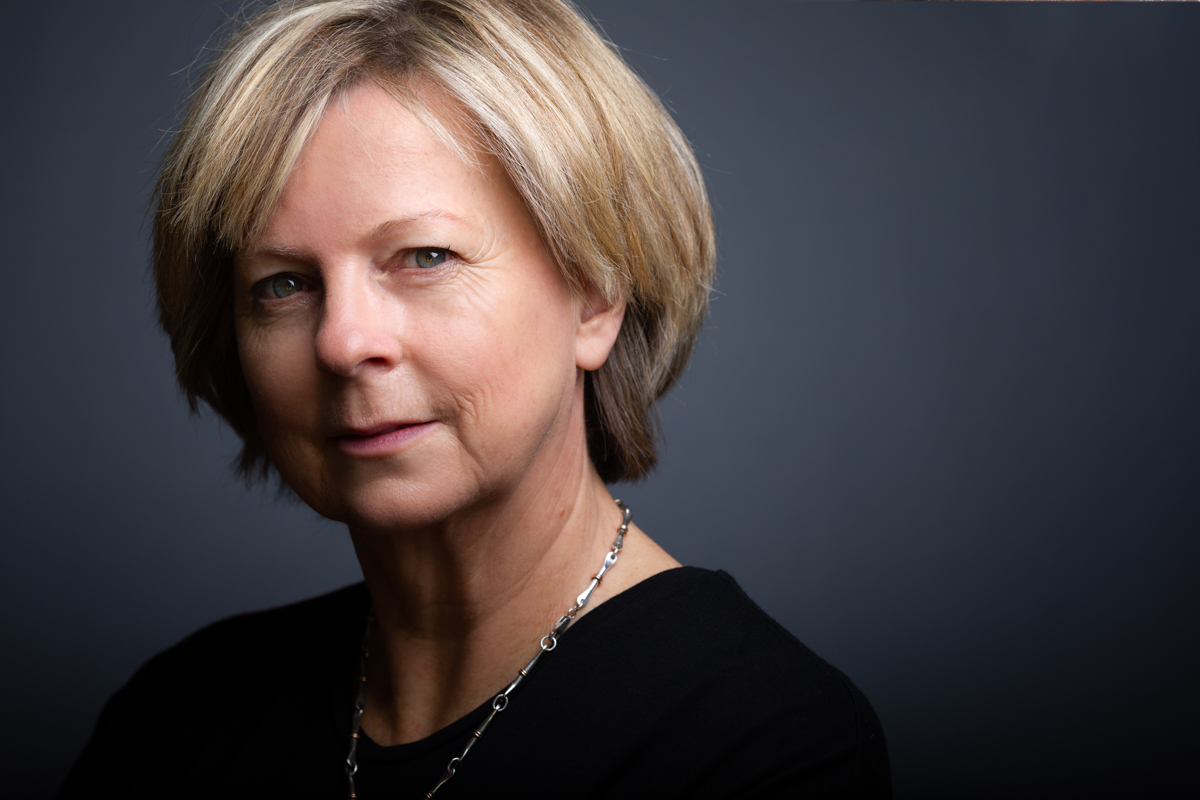
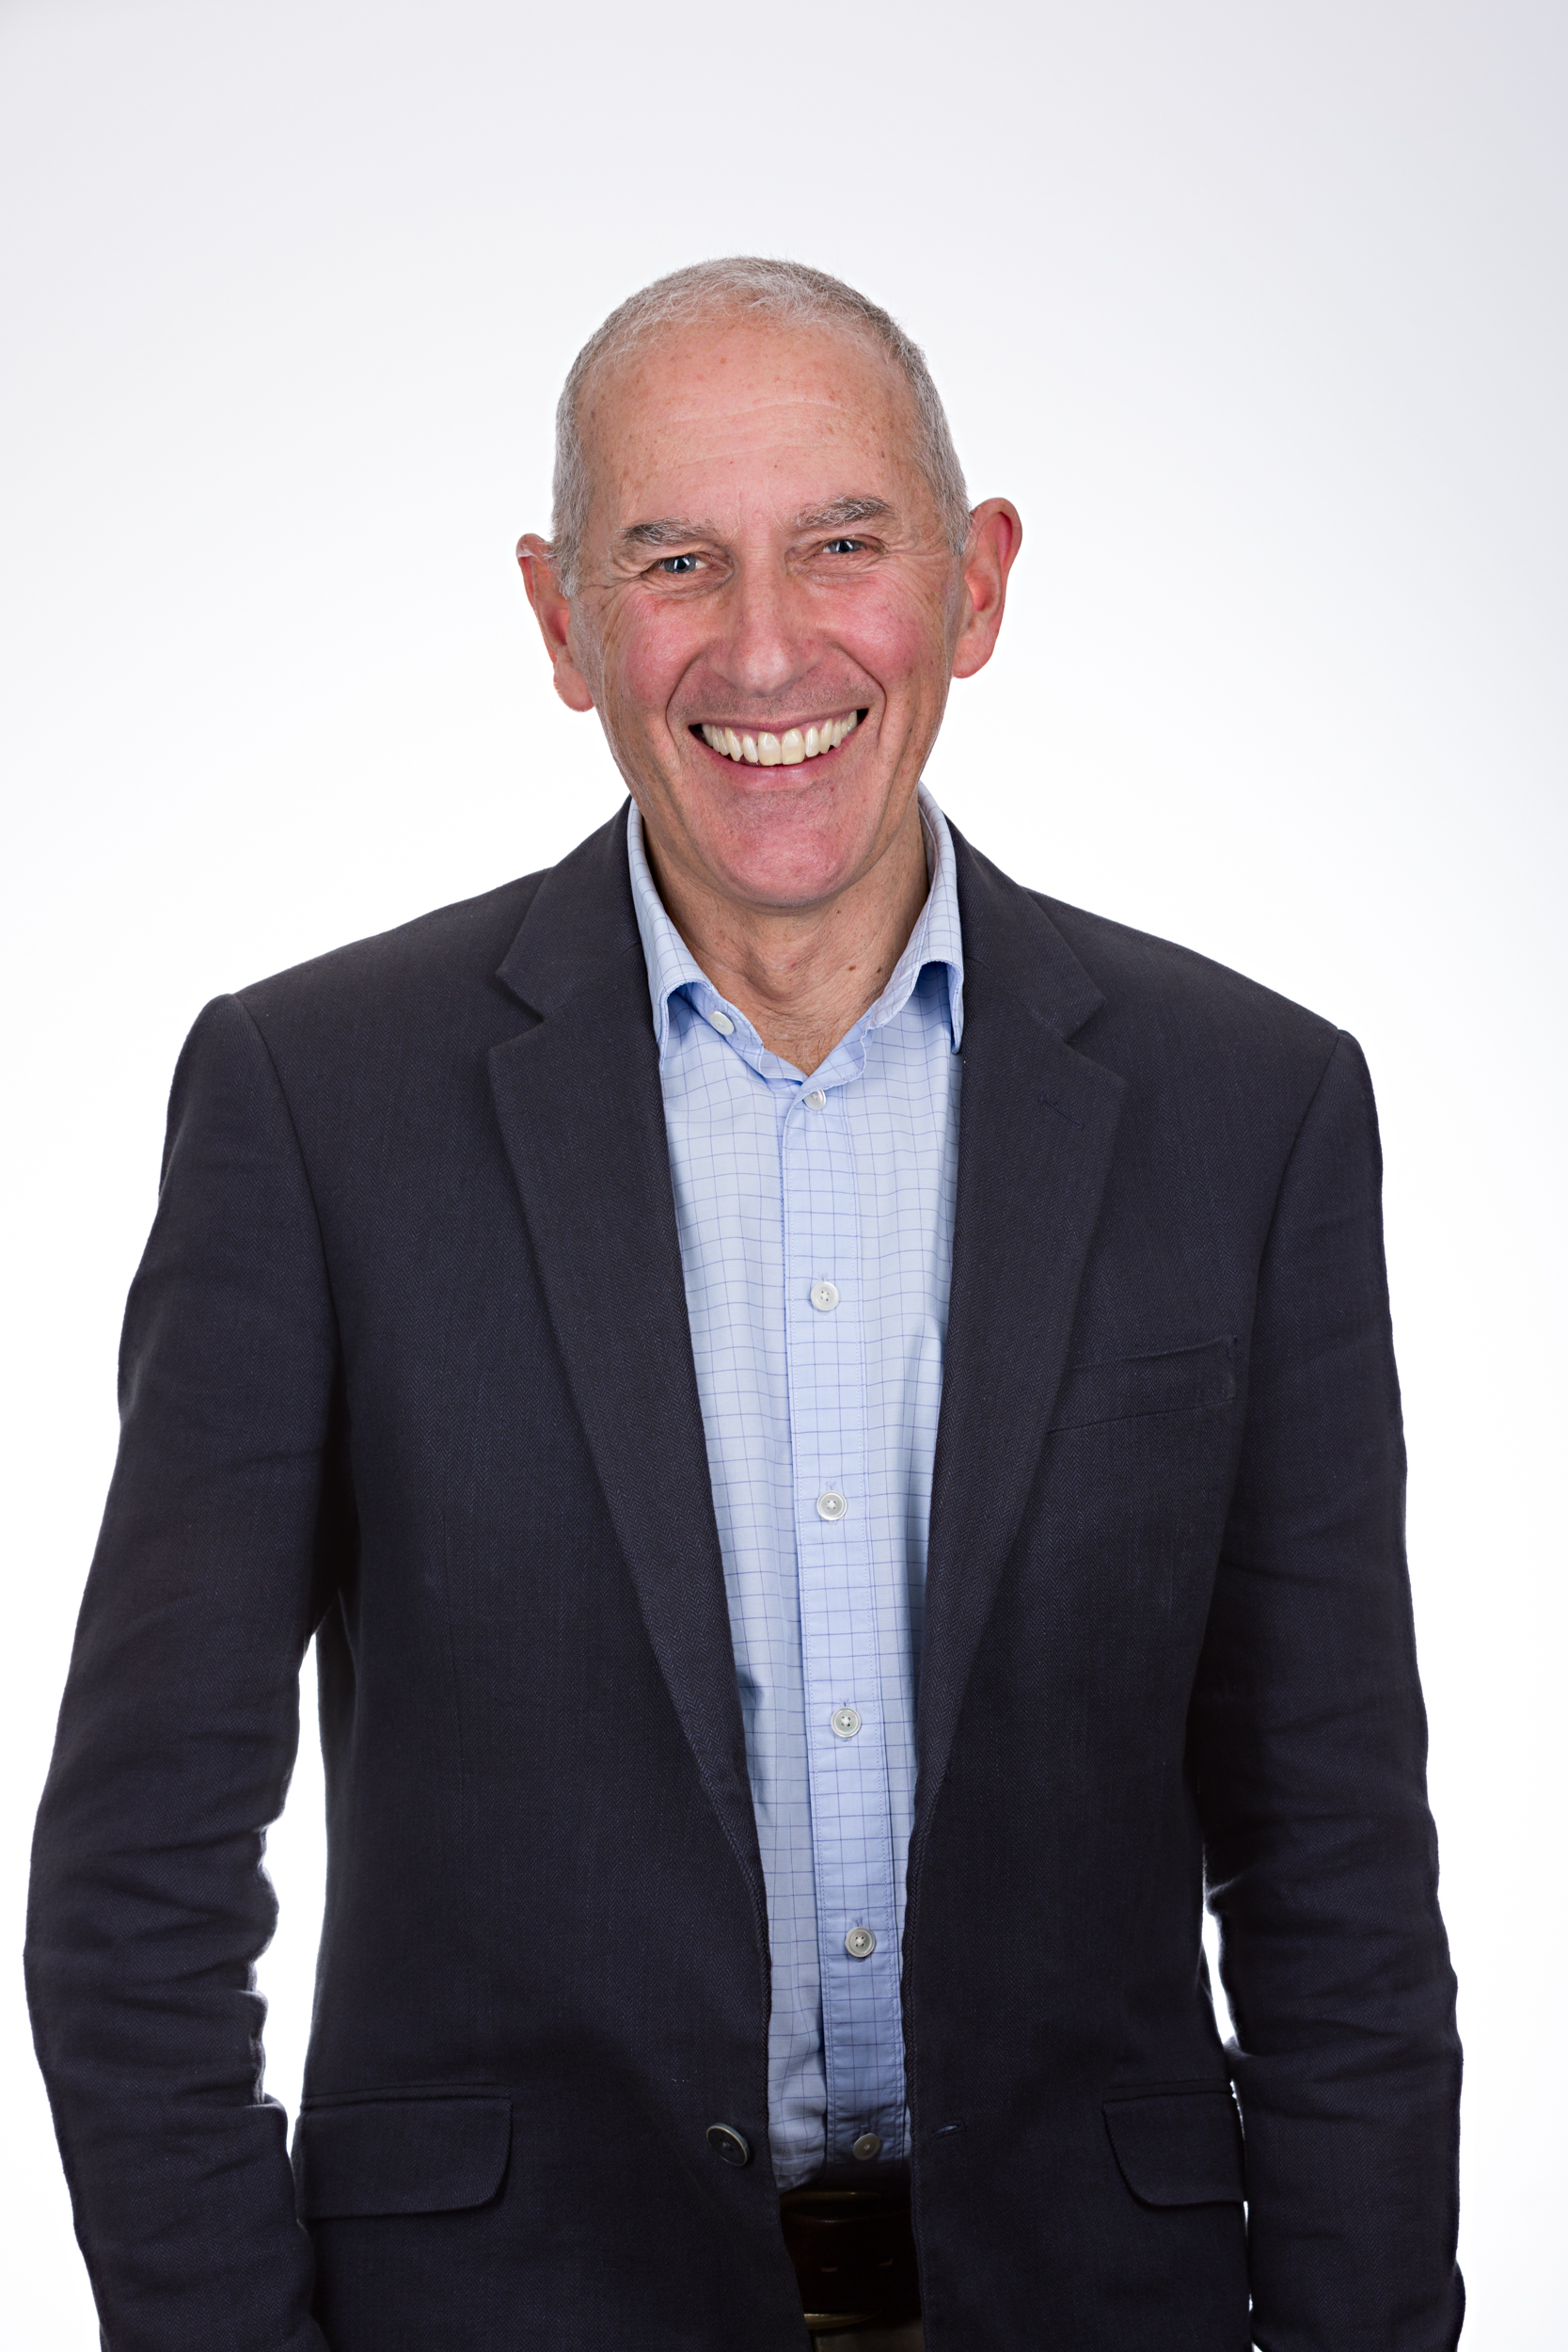
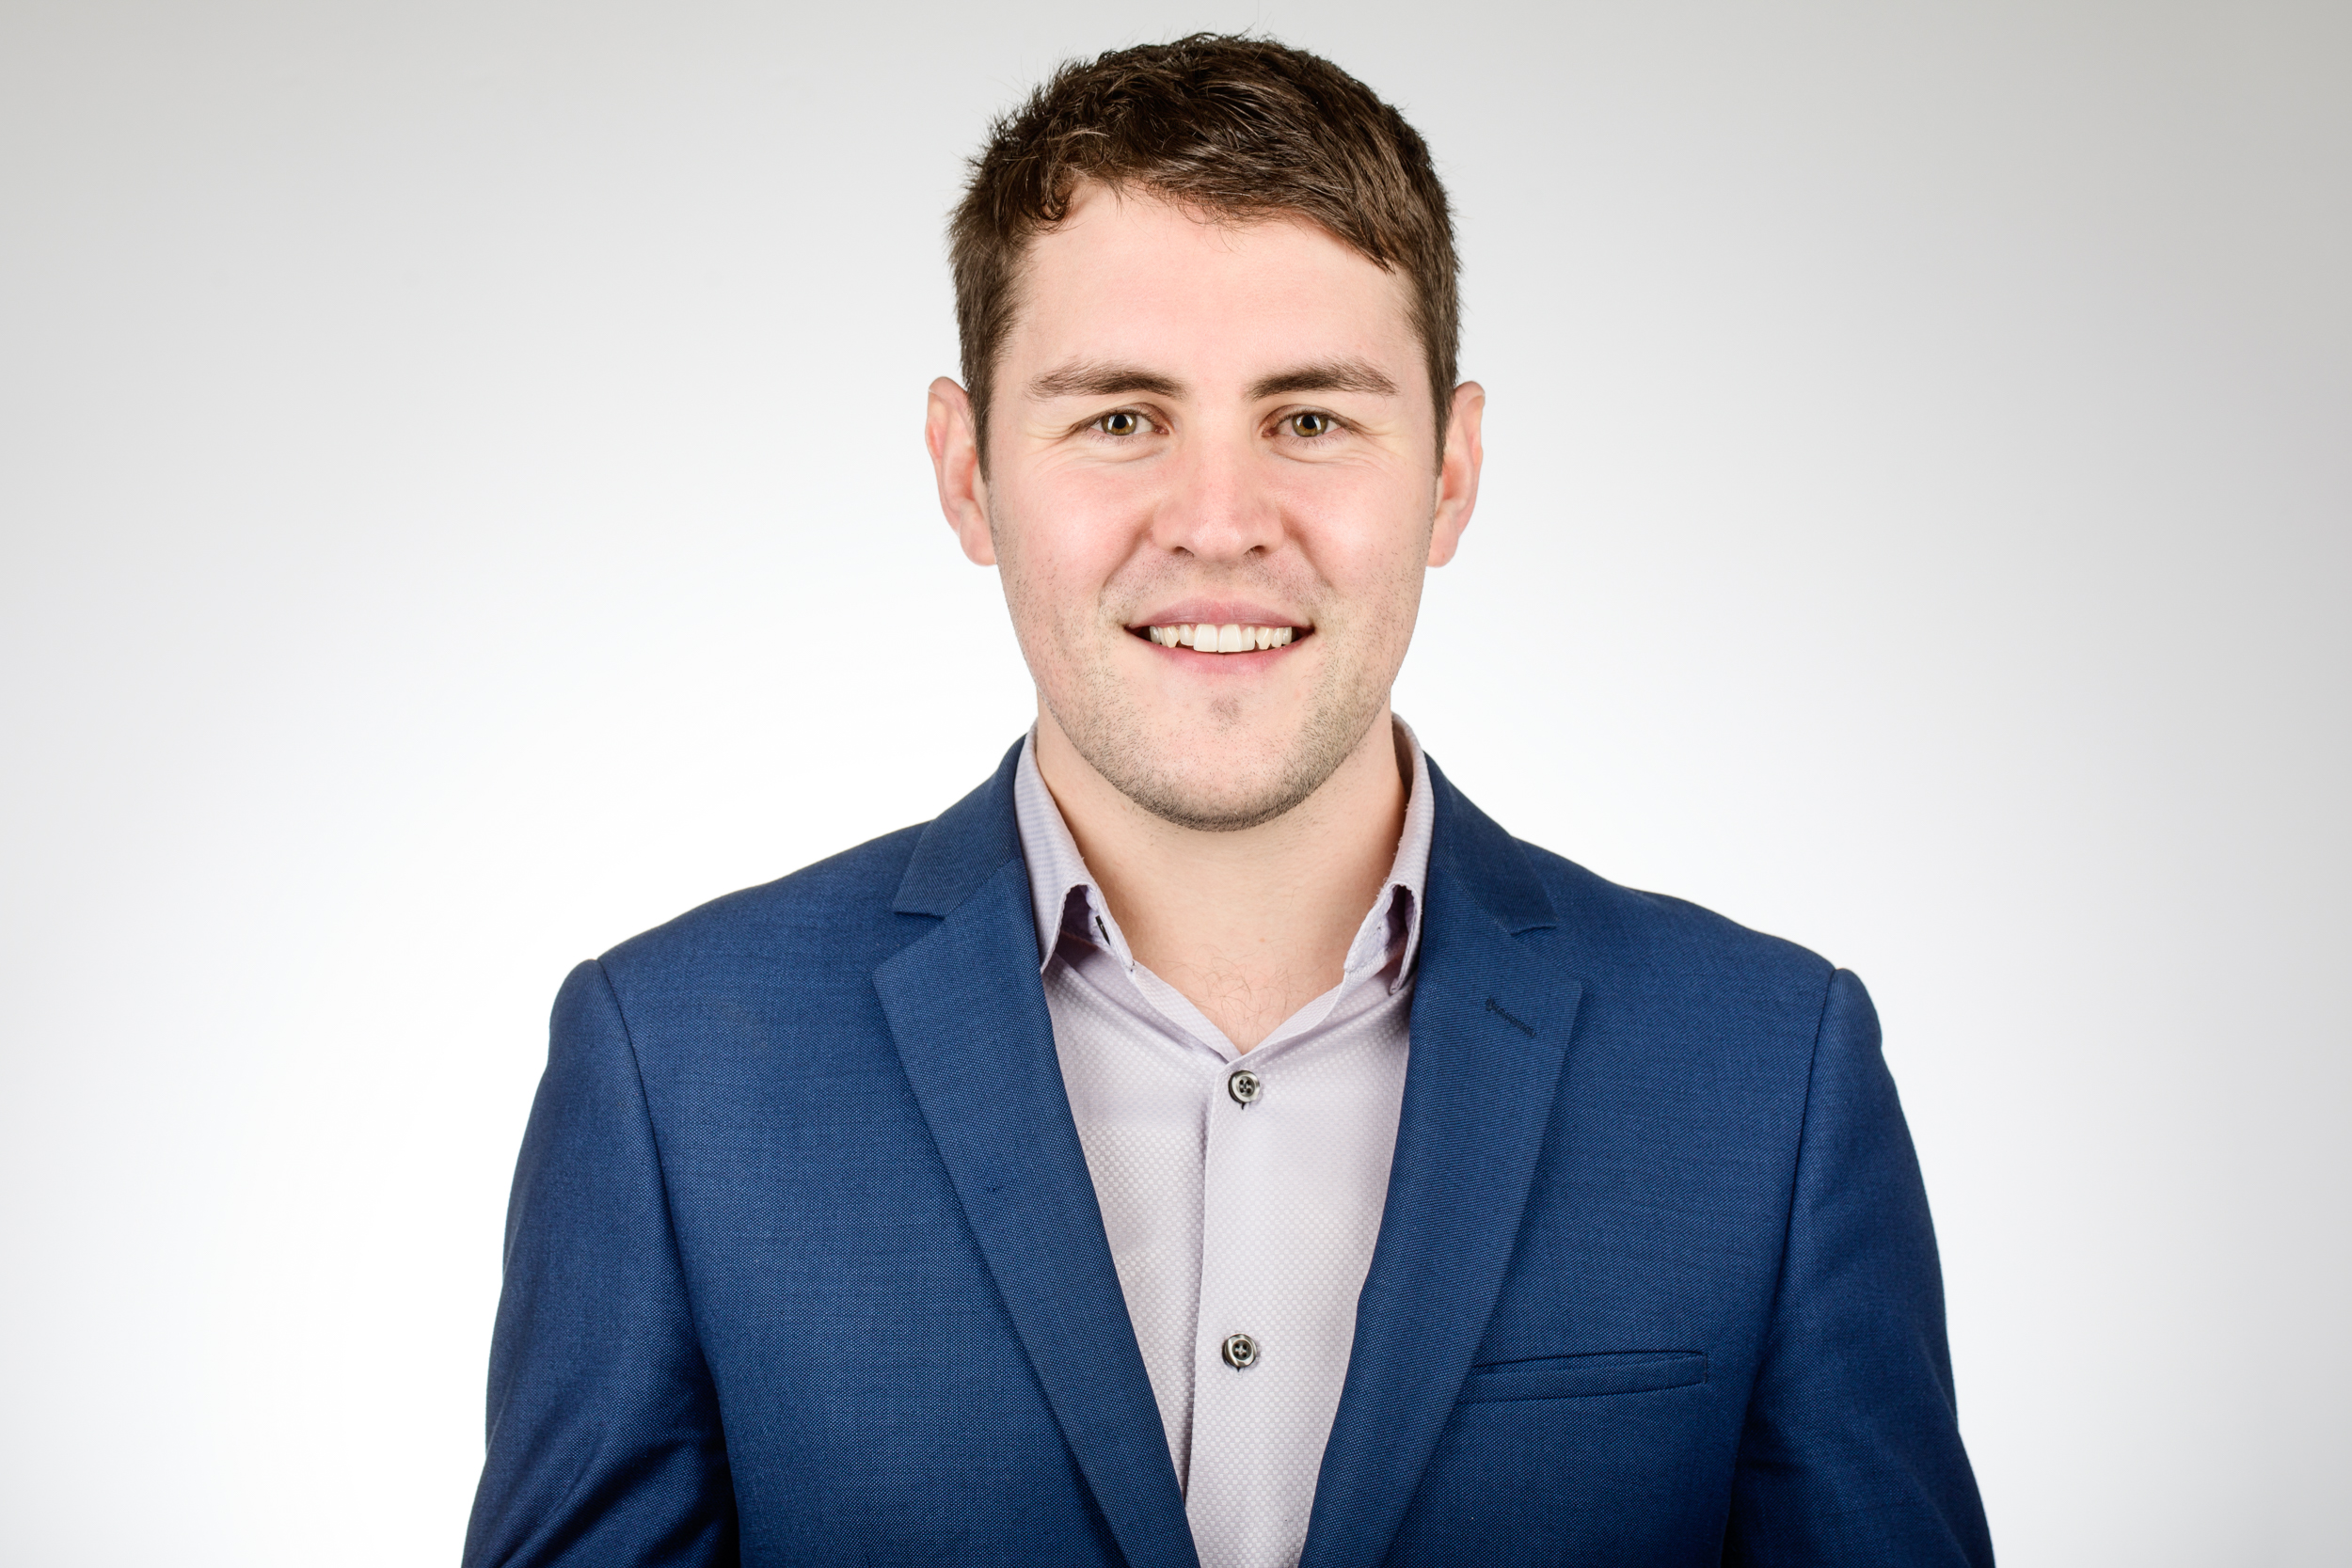
It used to be that actors were the only ones needing a headshot. Actors have long known how important it is to not only have a headshot, but a great headshot. Their livelihood depends on it. These days everyone needs a great headshot for their various profiles on websites, annual reports and of course, social media.
According to the Association for Psychological Science, you’ve got 1/10 of a second to make a first impression. Not even a full second! Better make your first impression a good one. But how do you do this? Just take a shot, right? Yeah, nah.
Getting a headshot is daunting for most people. You have lights beaming down on you, a camera in your face and add in any insecurities, it’s confronting. Even actors who are in these situations and putting themselves on view still find the process daunting so how do you prepare and make sure you get a great shot that shows who you are? Here are some tips on how to get an awesome headshot.
STEP ONE
First, you need to determine how your headshot will be used. Is it for your website? Social media? This is important given how each platform displays images differently. For instance, LinkedIn profile pictures are displayed in a small circle, so the viewer needs to be able to connect with you in restricted real estate, especially when viewed on a mobile device. How do you do that? Make sure your headshot captures your face and especially your eyes. On websites, we generally have more room to showcase more of our features. Regardless of where the image is displayed, it needs to make an impression.
STEP TWO
Decide if you want a studio shot or an environmental shot – or both!
Studio Headshots
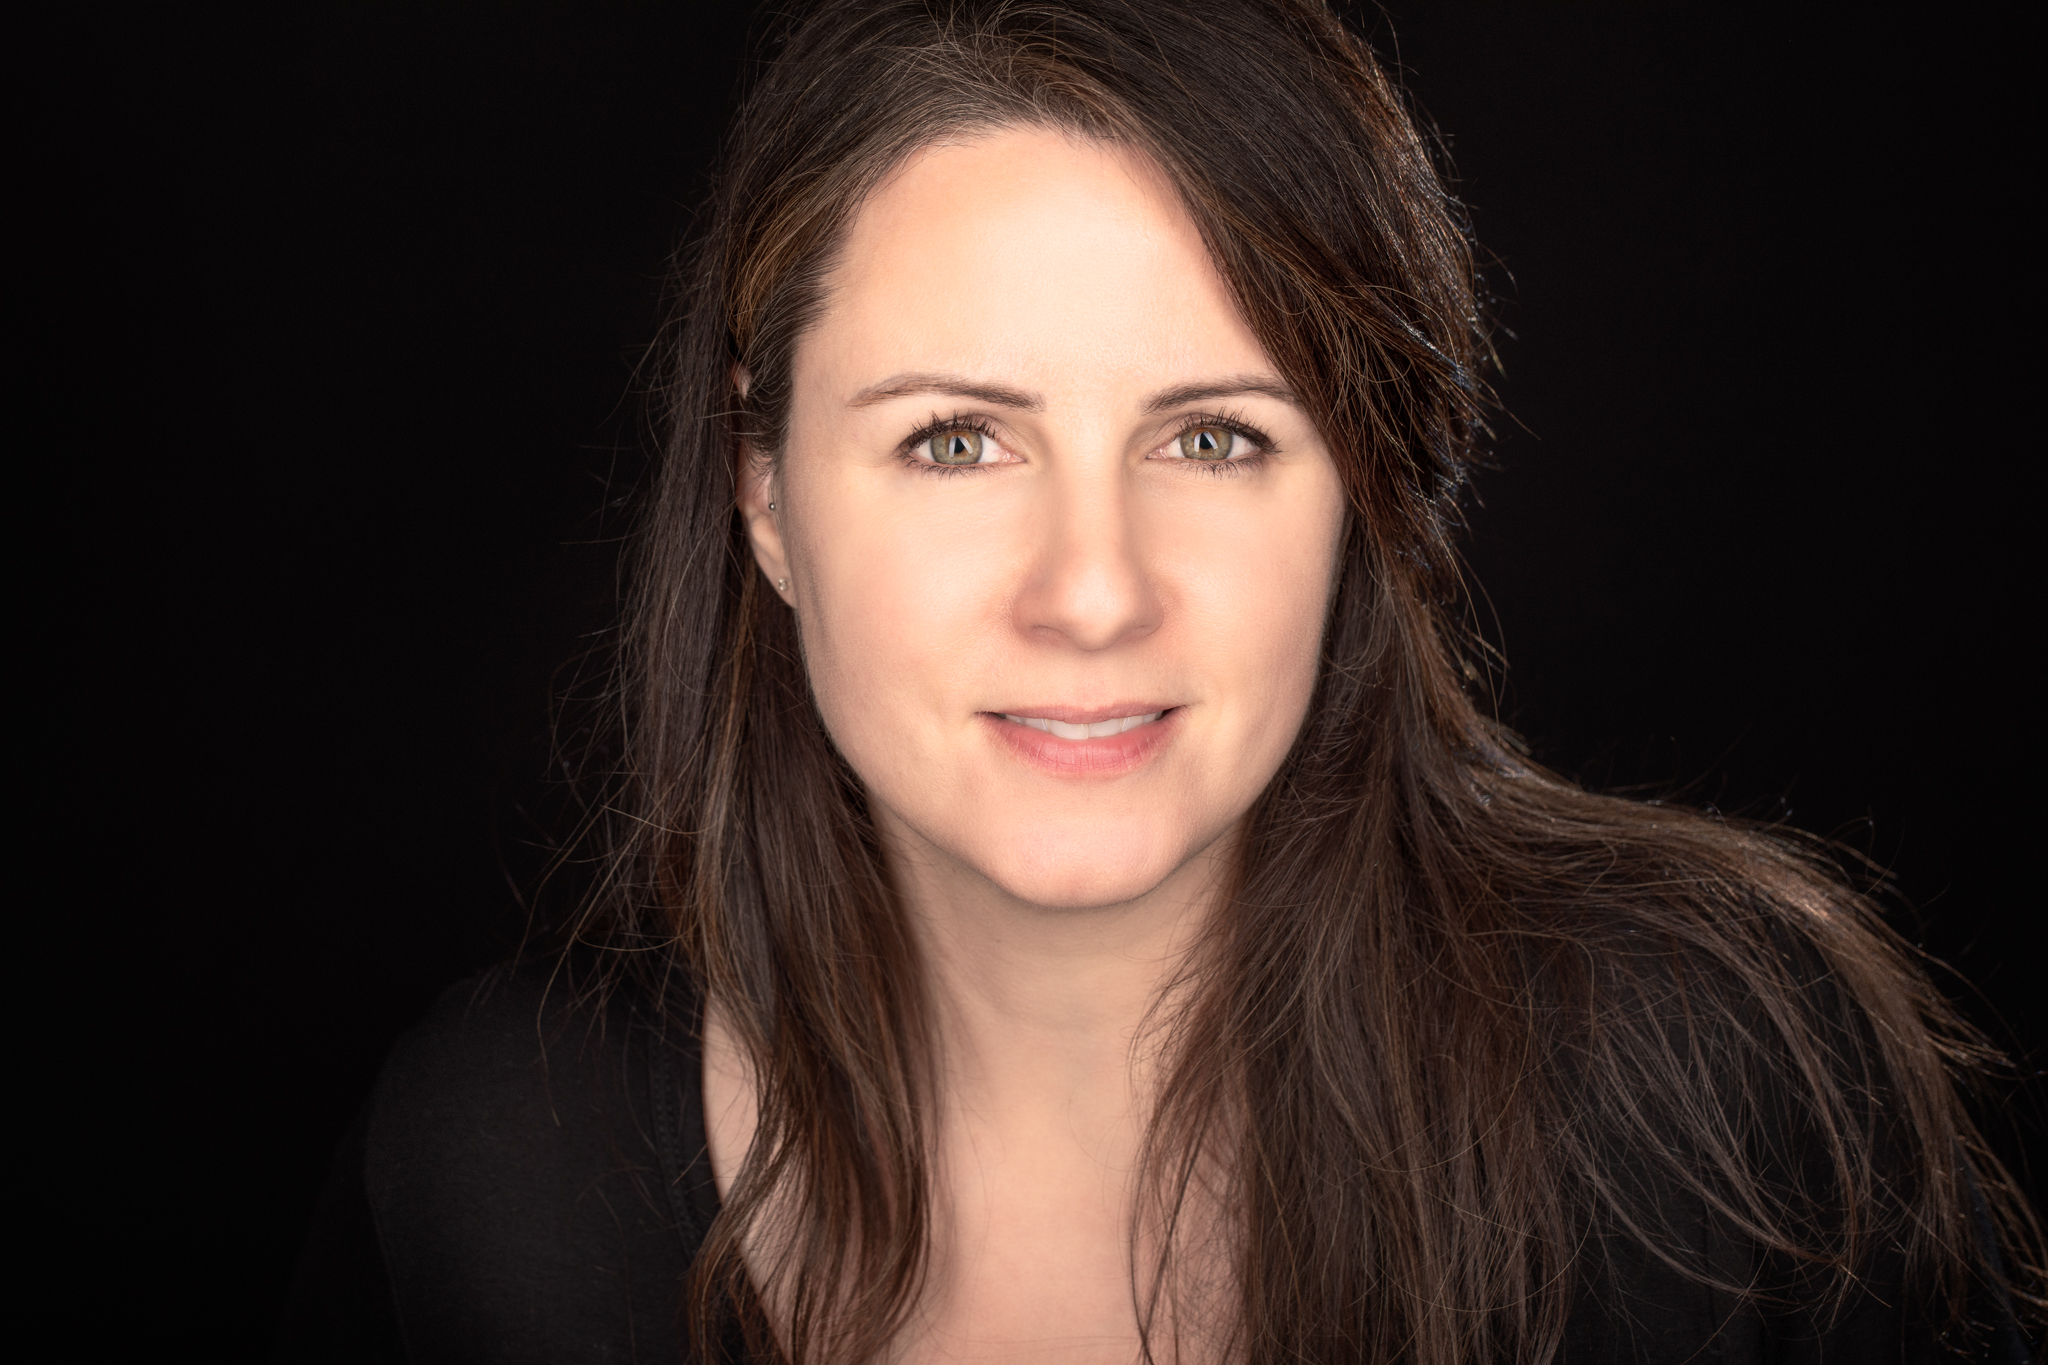
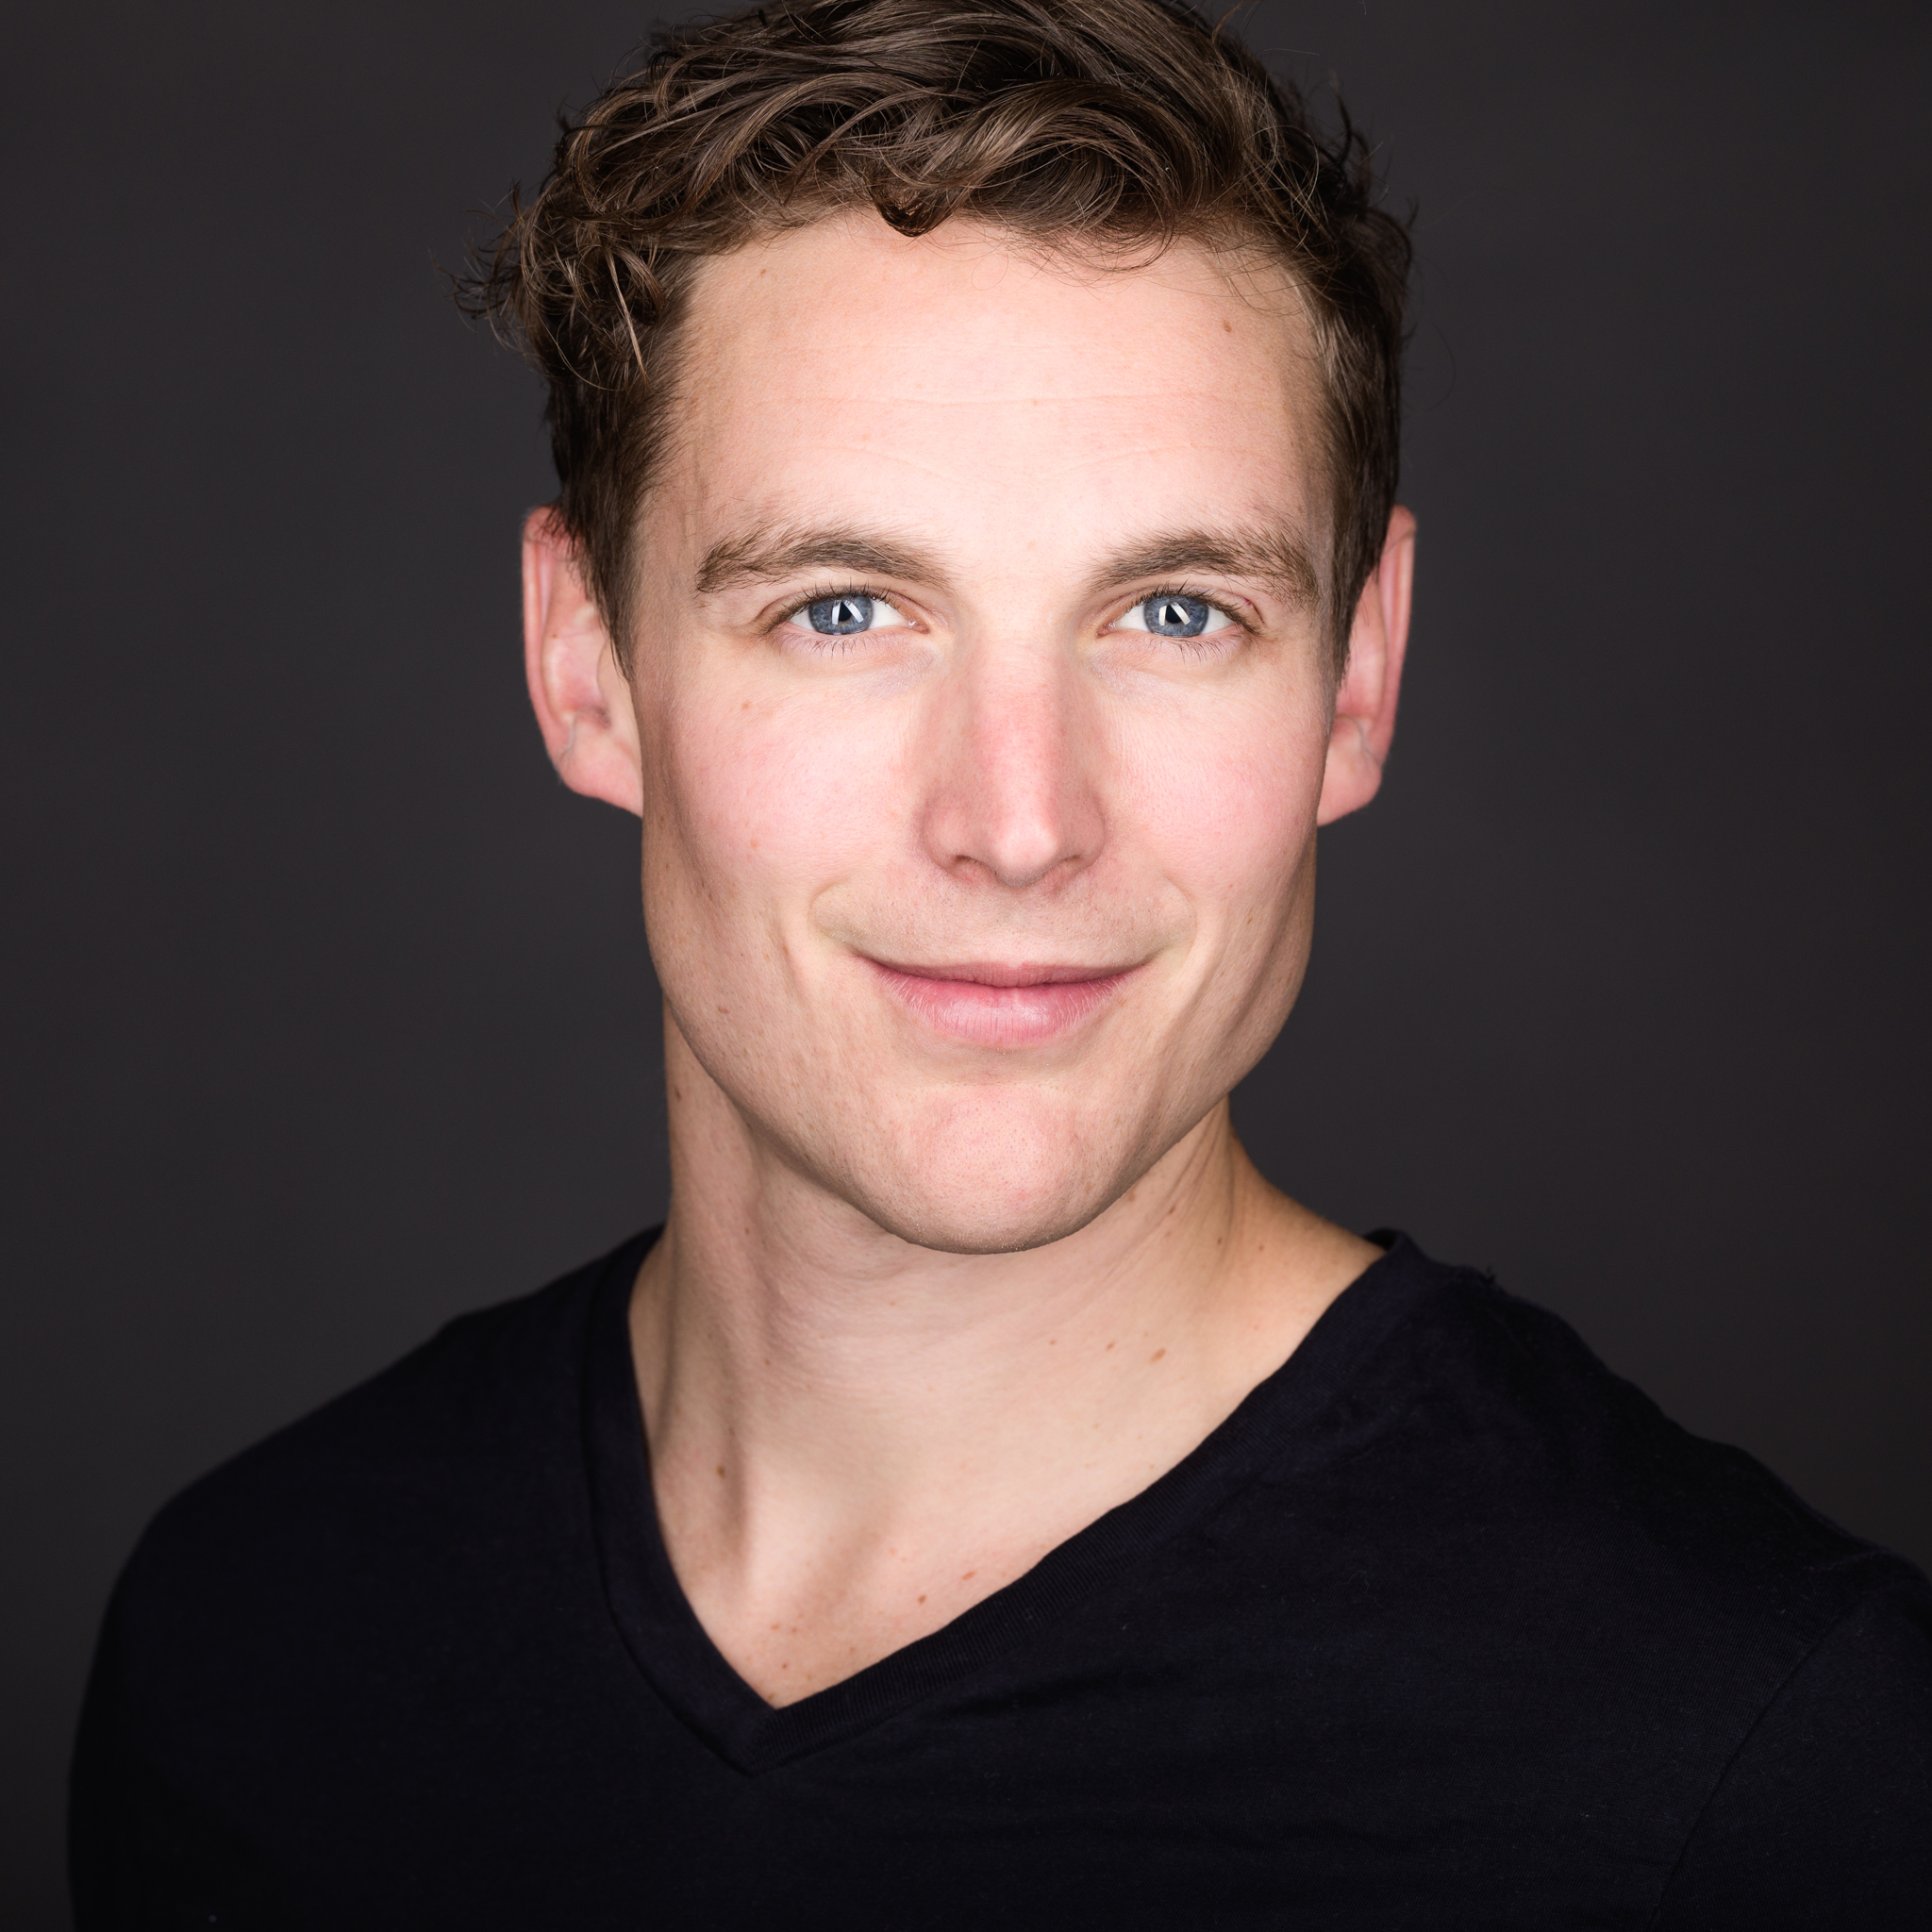
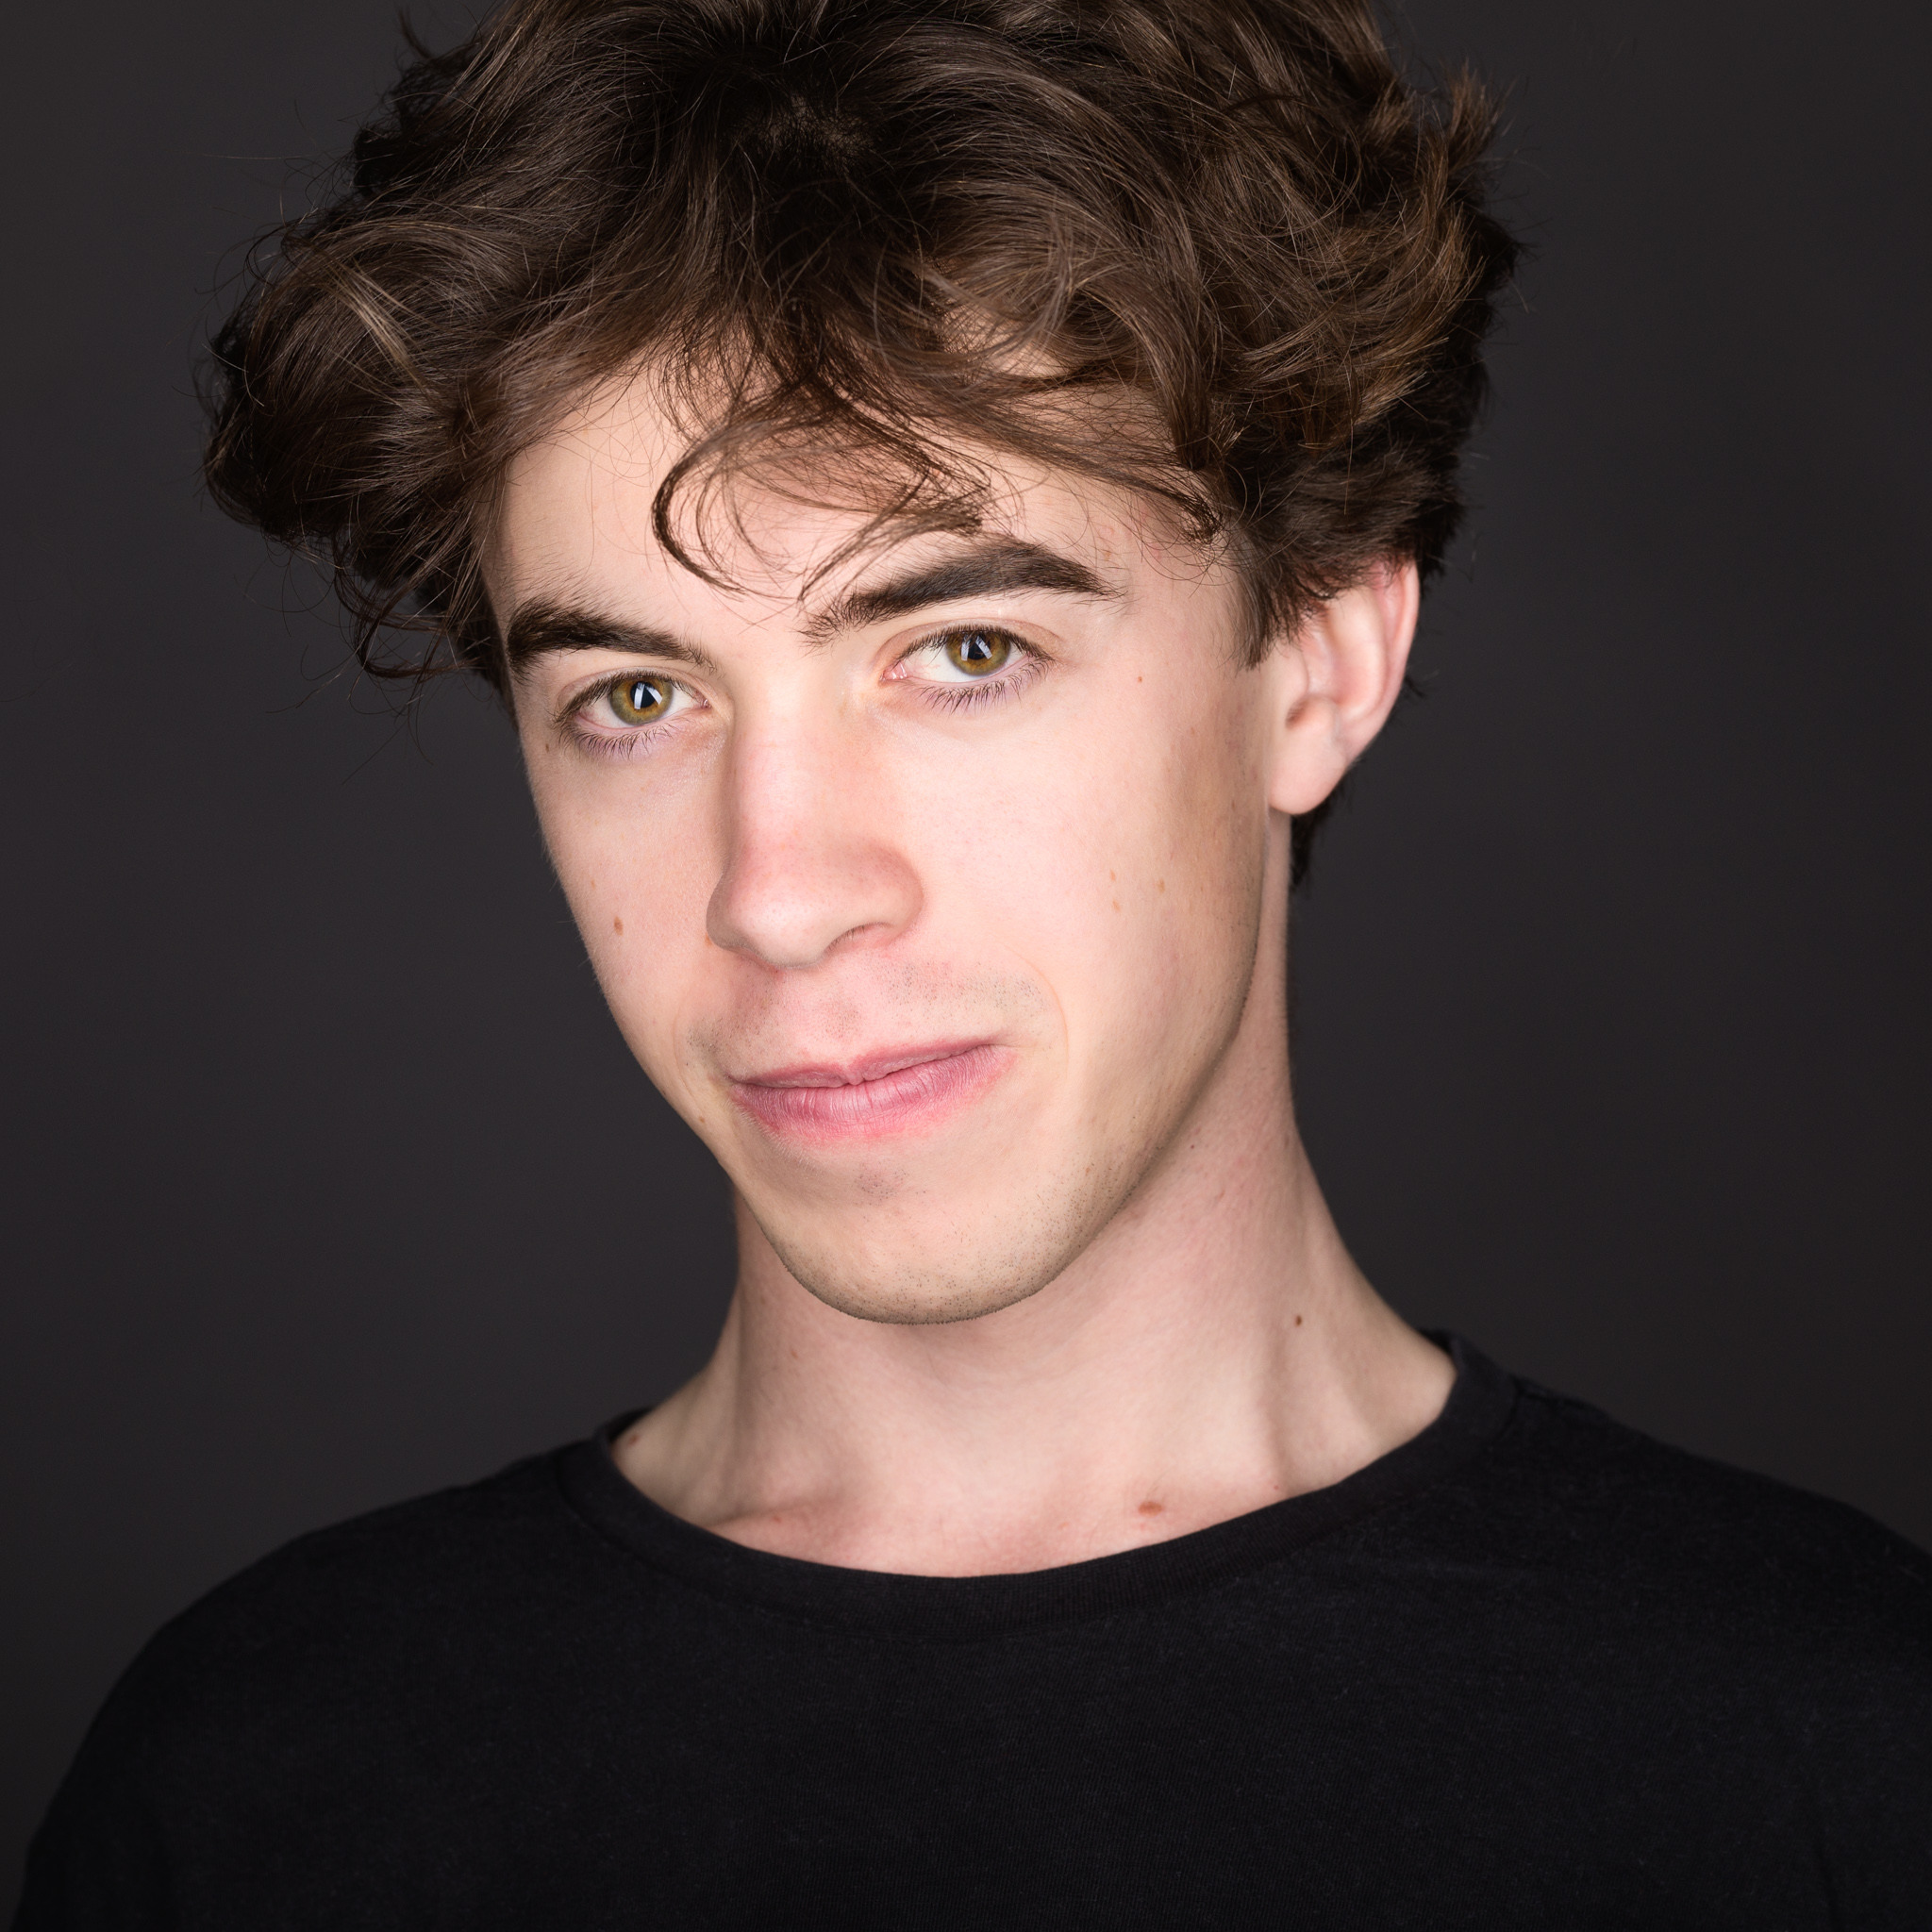
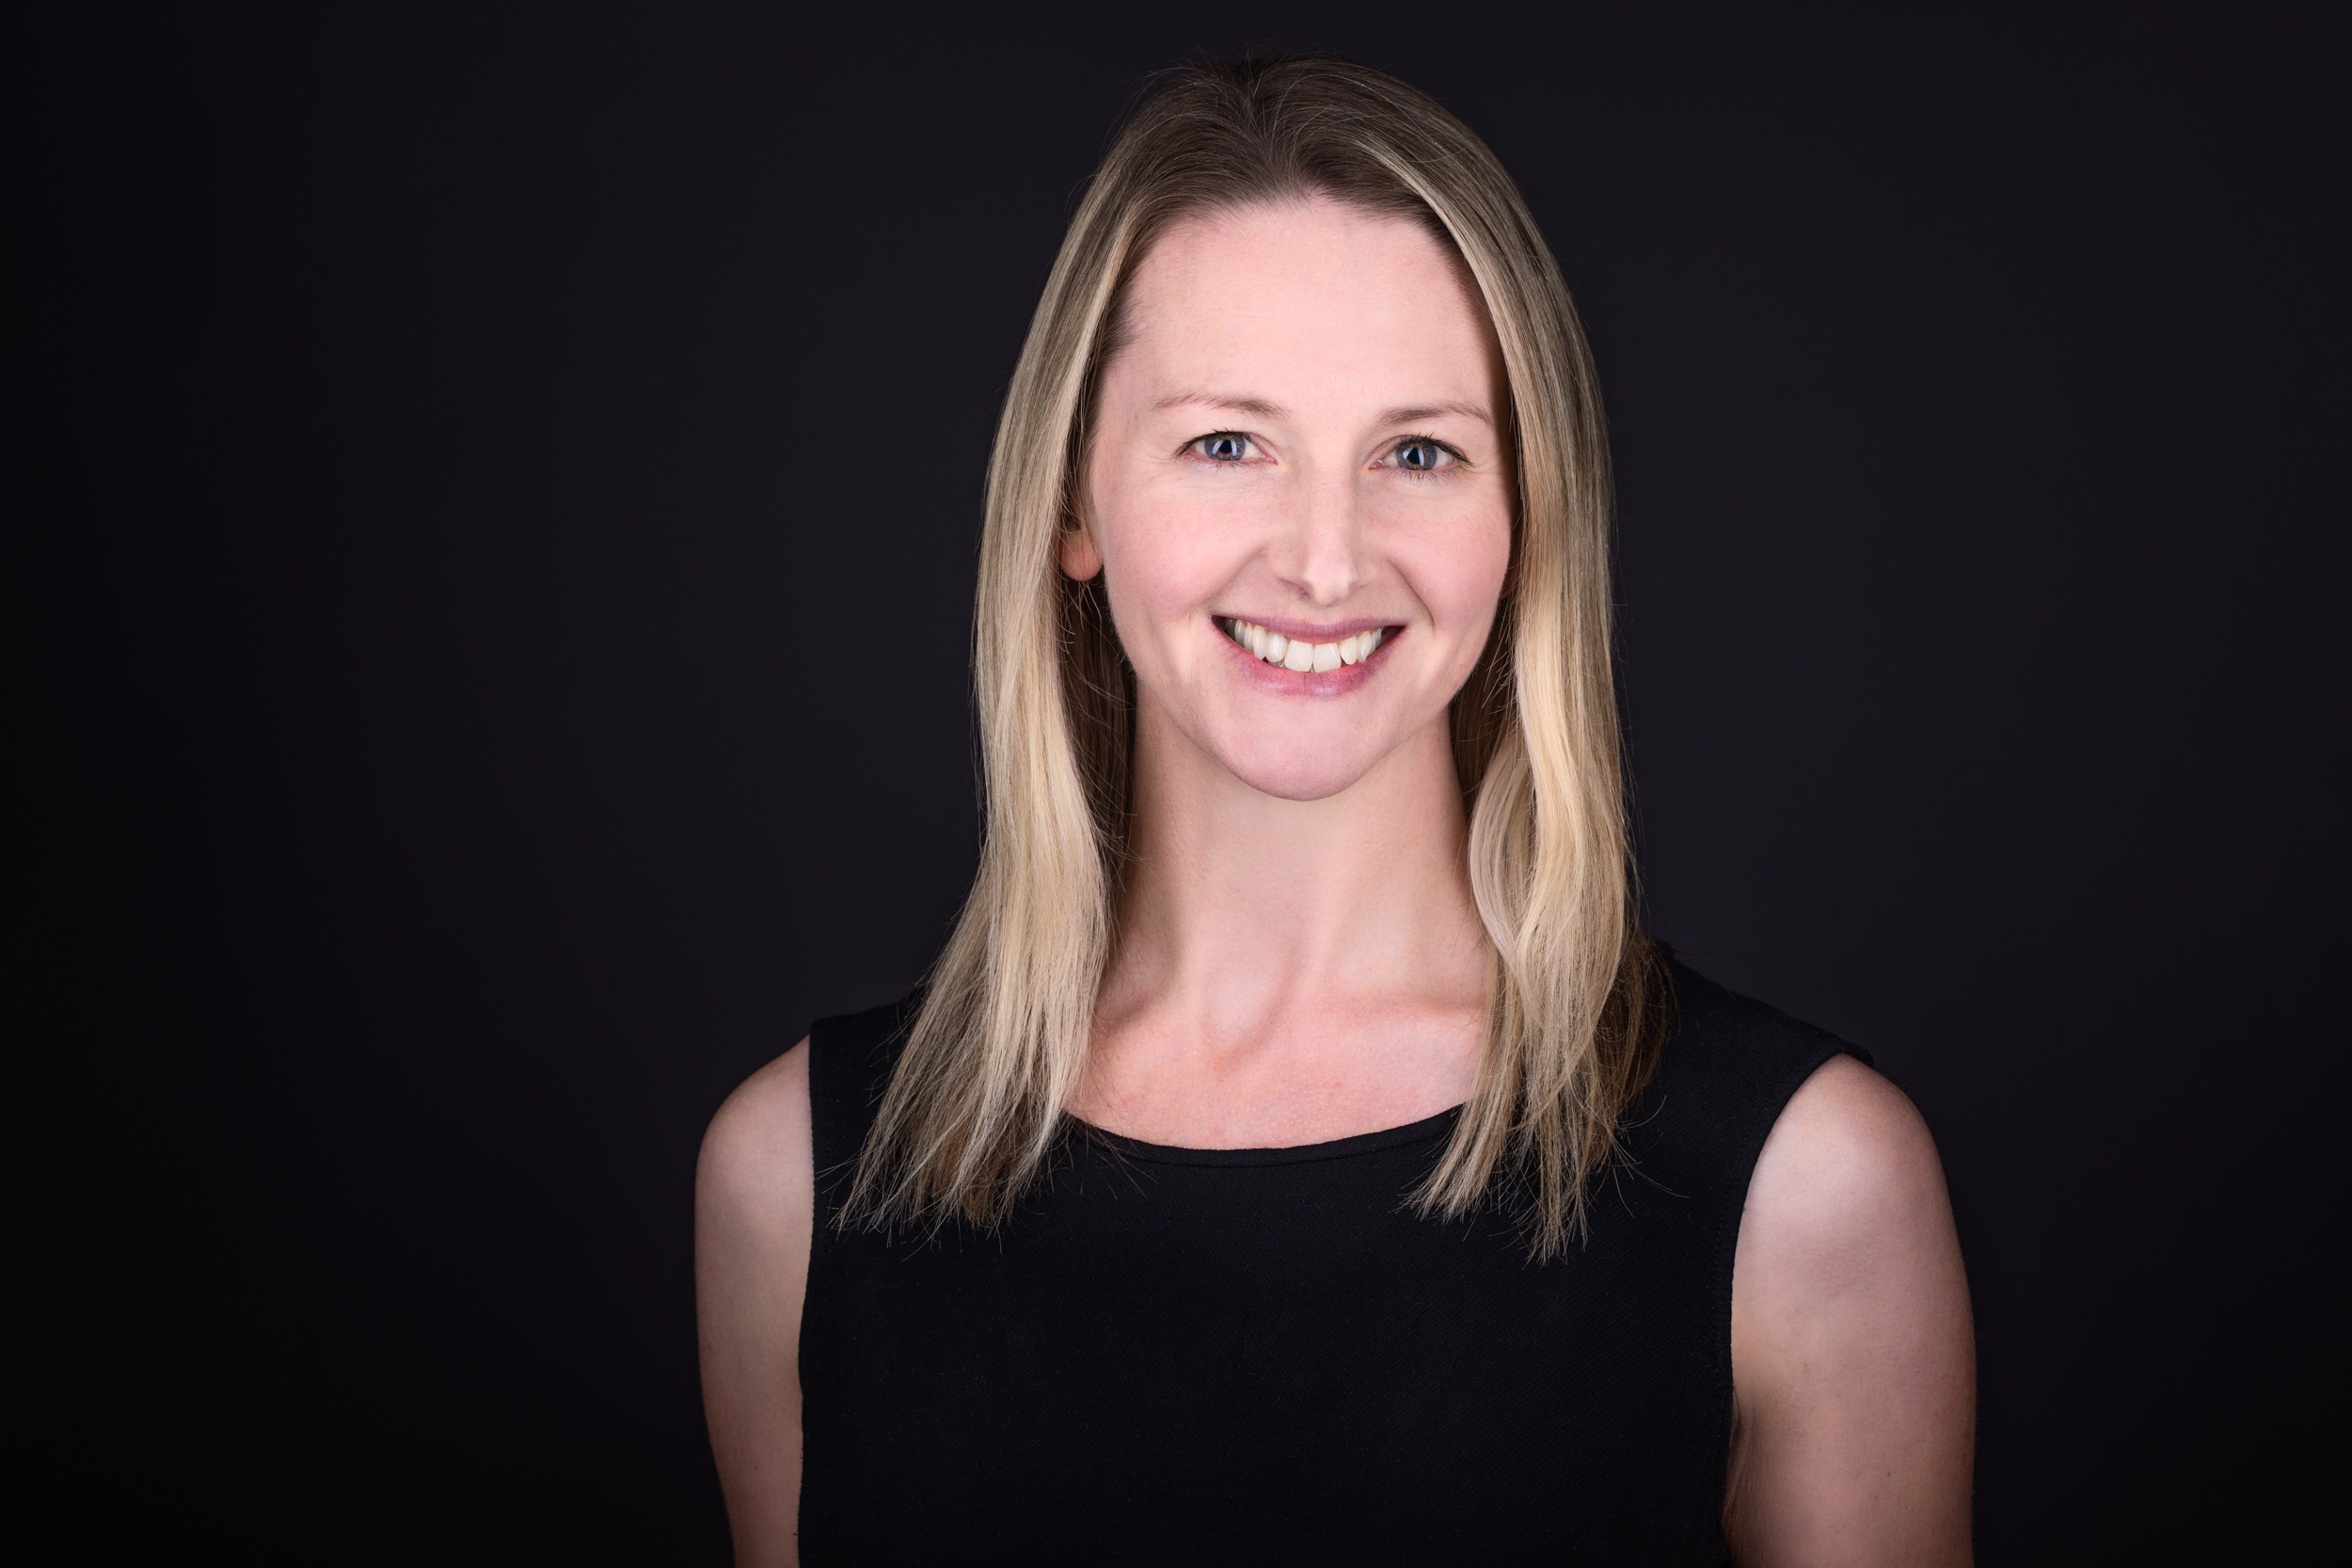
Studio shots have a much more controlled environment with studio lights, backgrounds and camera location. They give us flexibility on background colour and are great for corporate headshots and headshots that can be used in a variety of places. Why is having a standard image important? If you have a need for your image to be across other agencies’ platforms for example if you speak or present at conferences and workshops or are an actor you will most likely be asked for a headshot that will need to fit into their style and platform, so a plain background is great for this. The benefit of a plain background is the focus is totally on you. No distractions. All that space works great for the placement of text next to, not over, your face. Perfect for key messages on social media.
Environmental Headshots
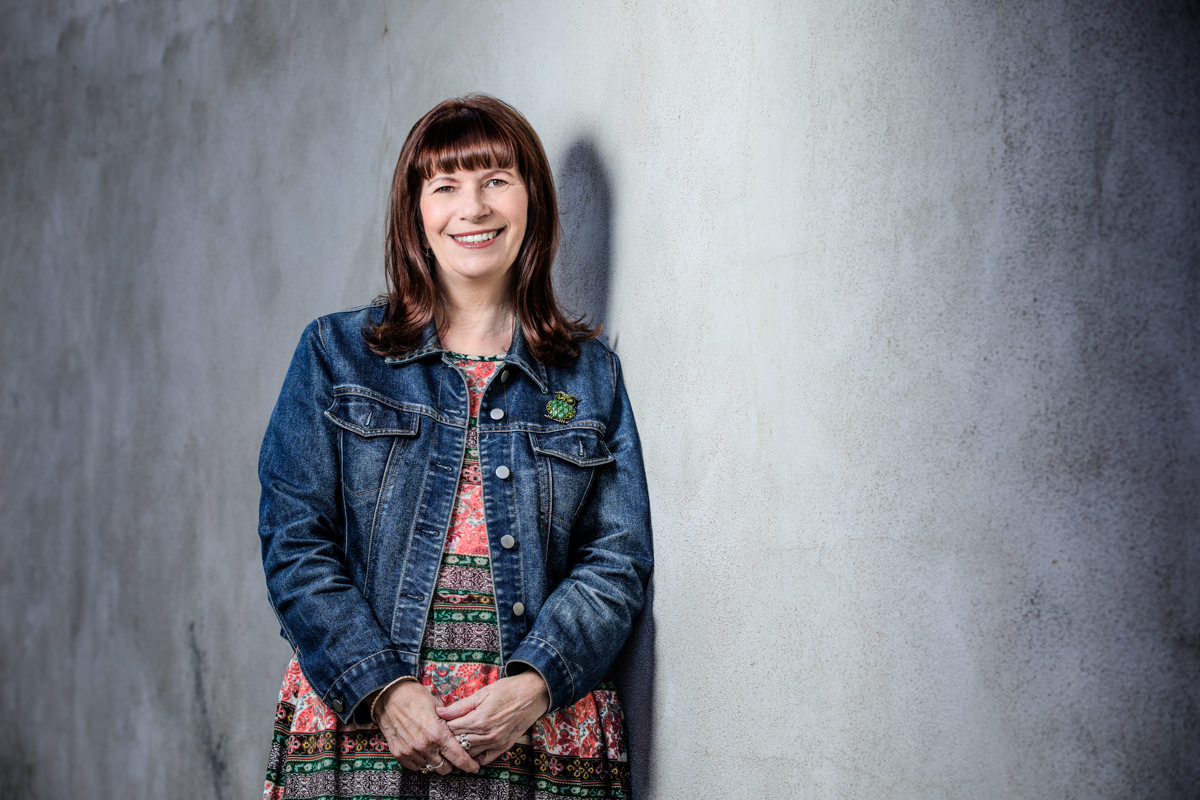
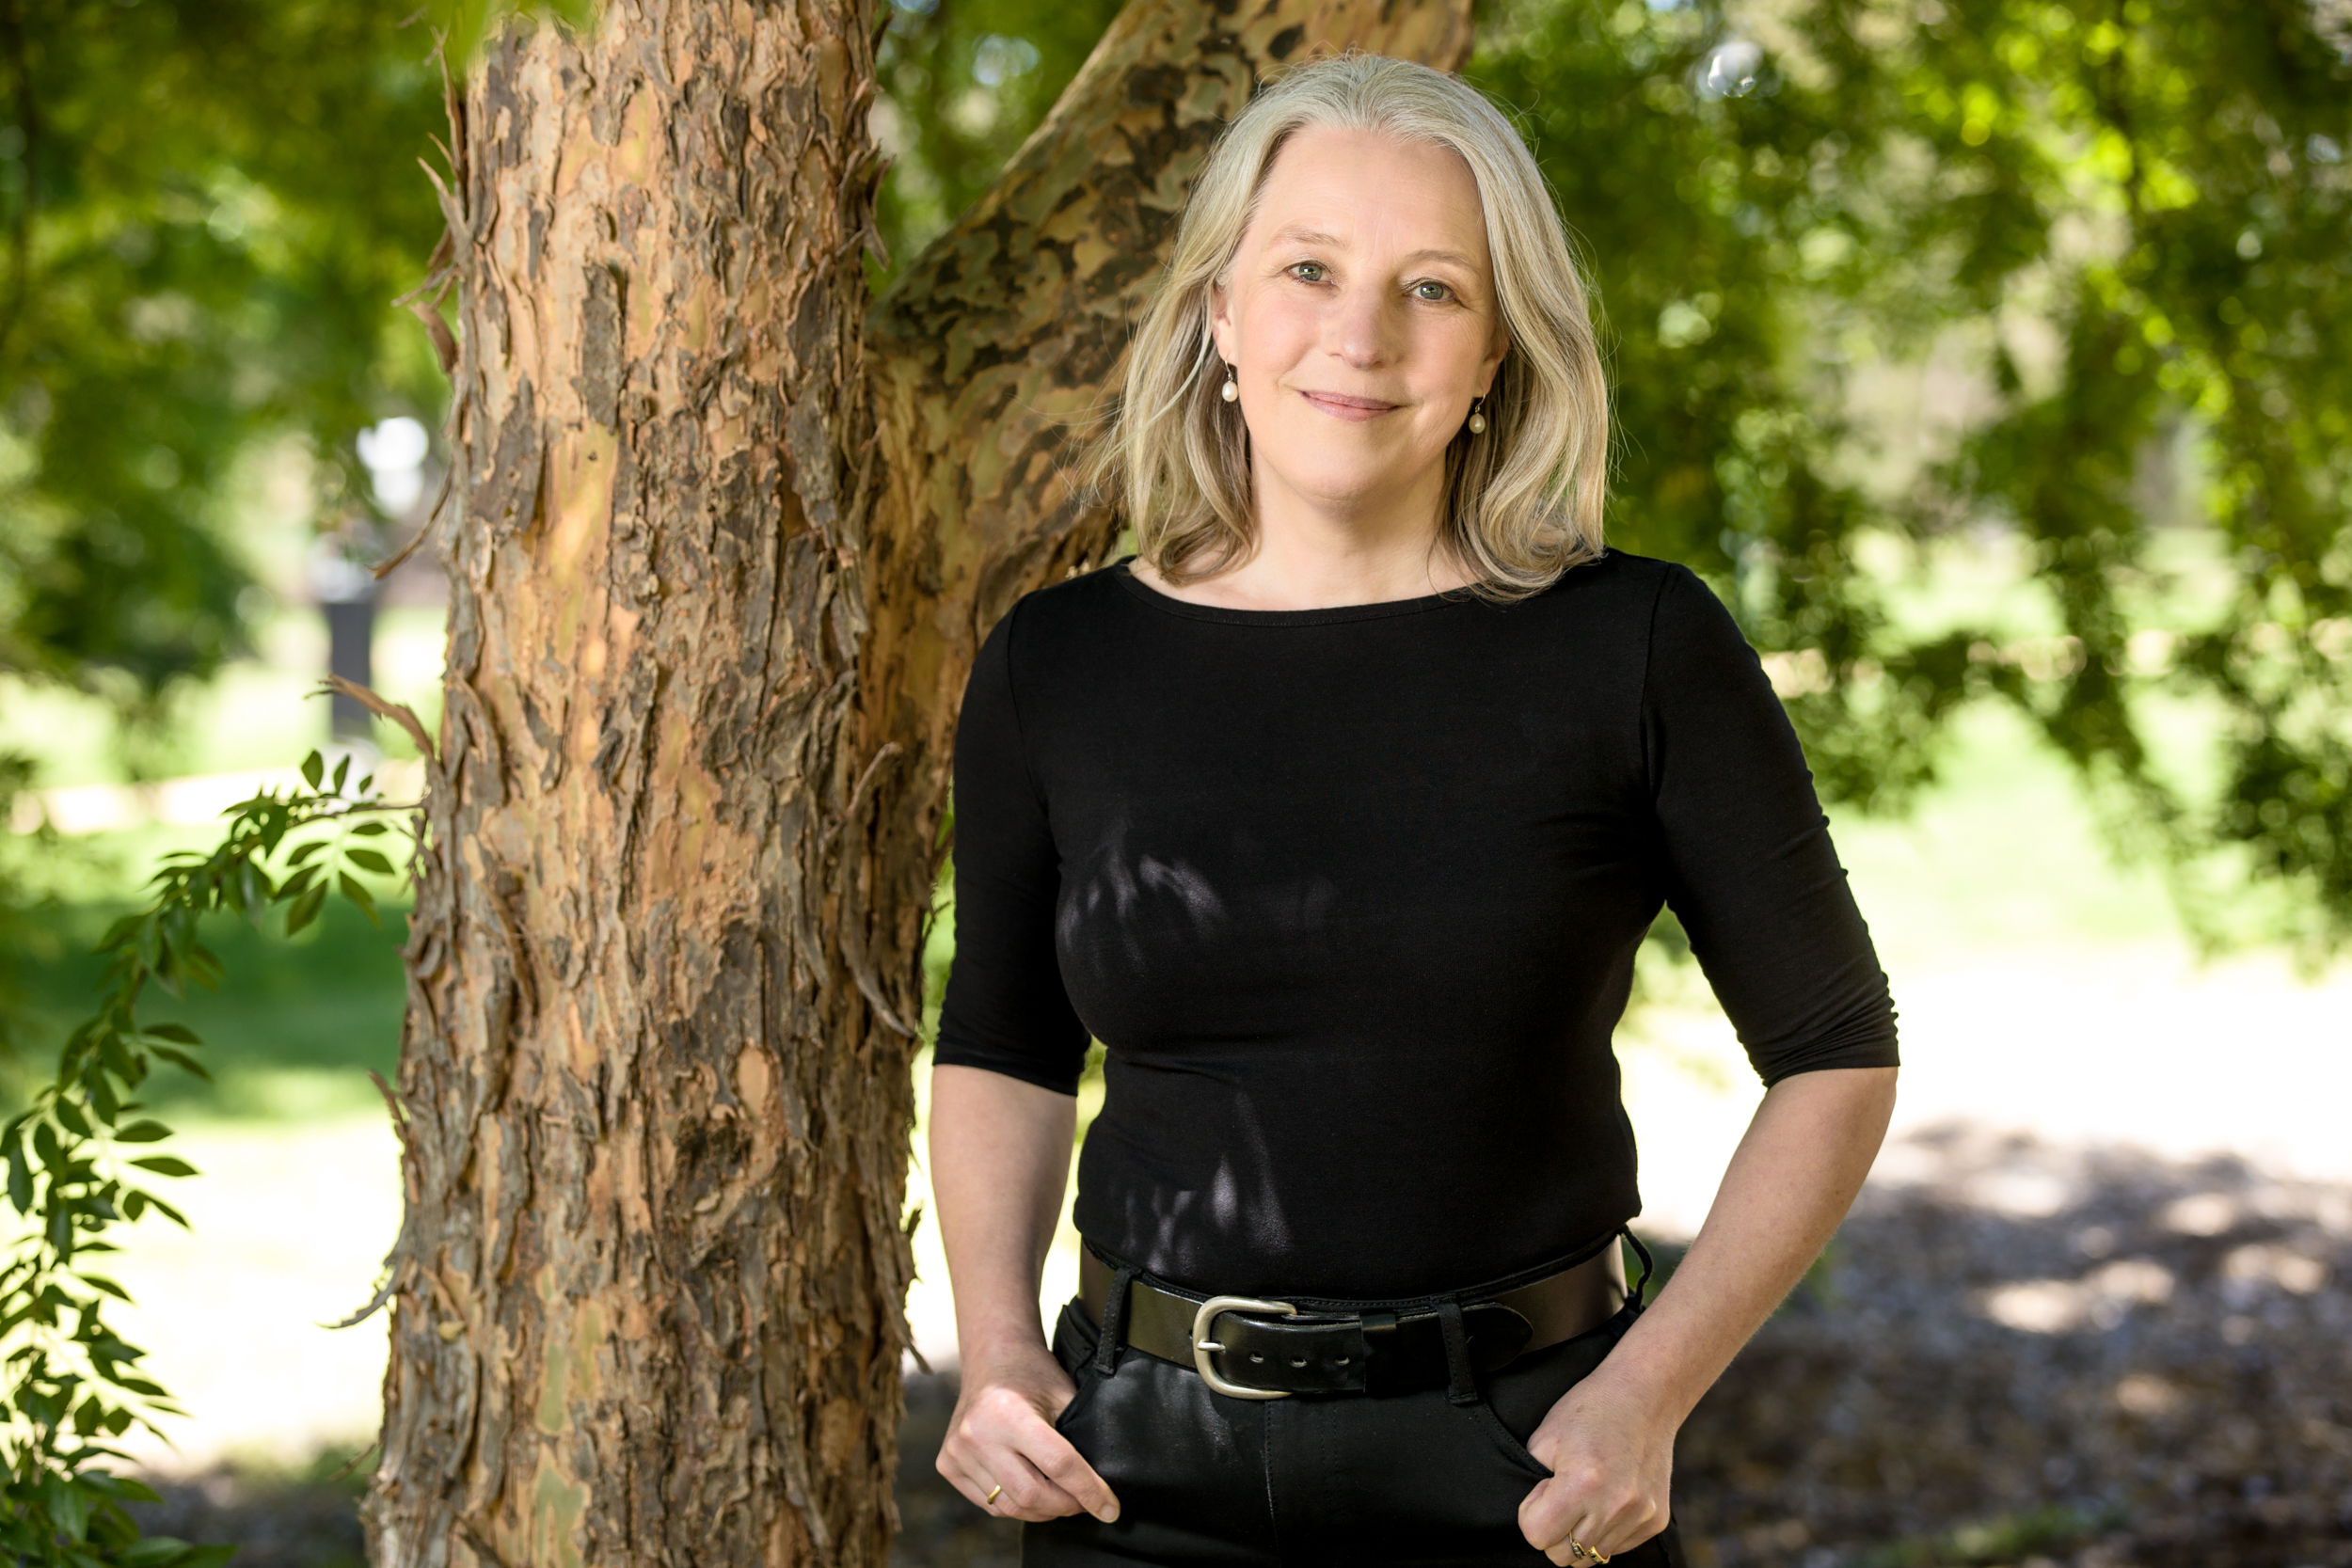
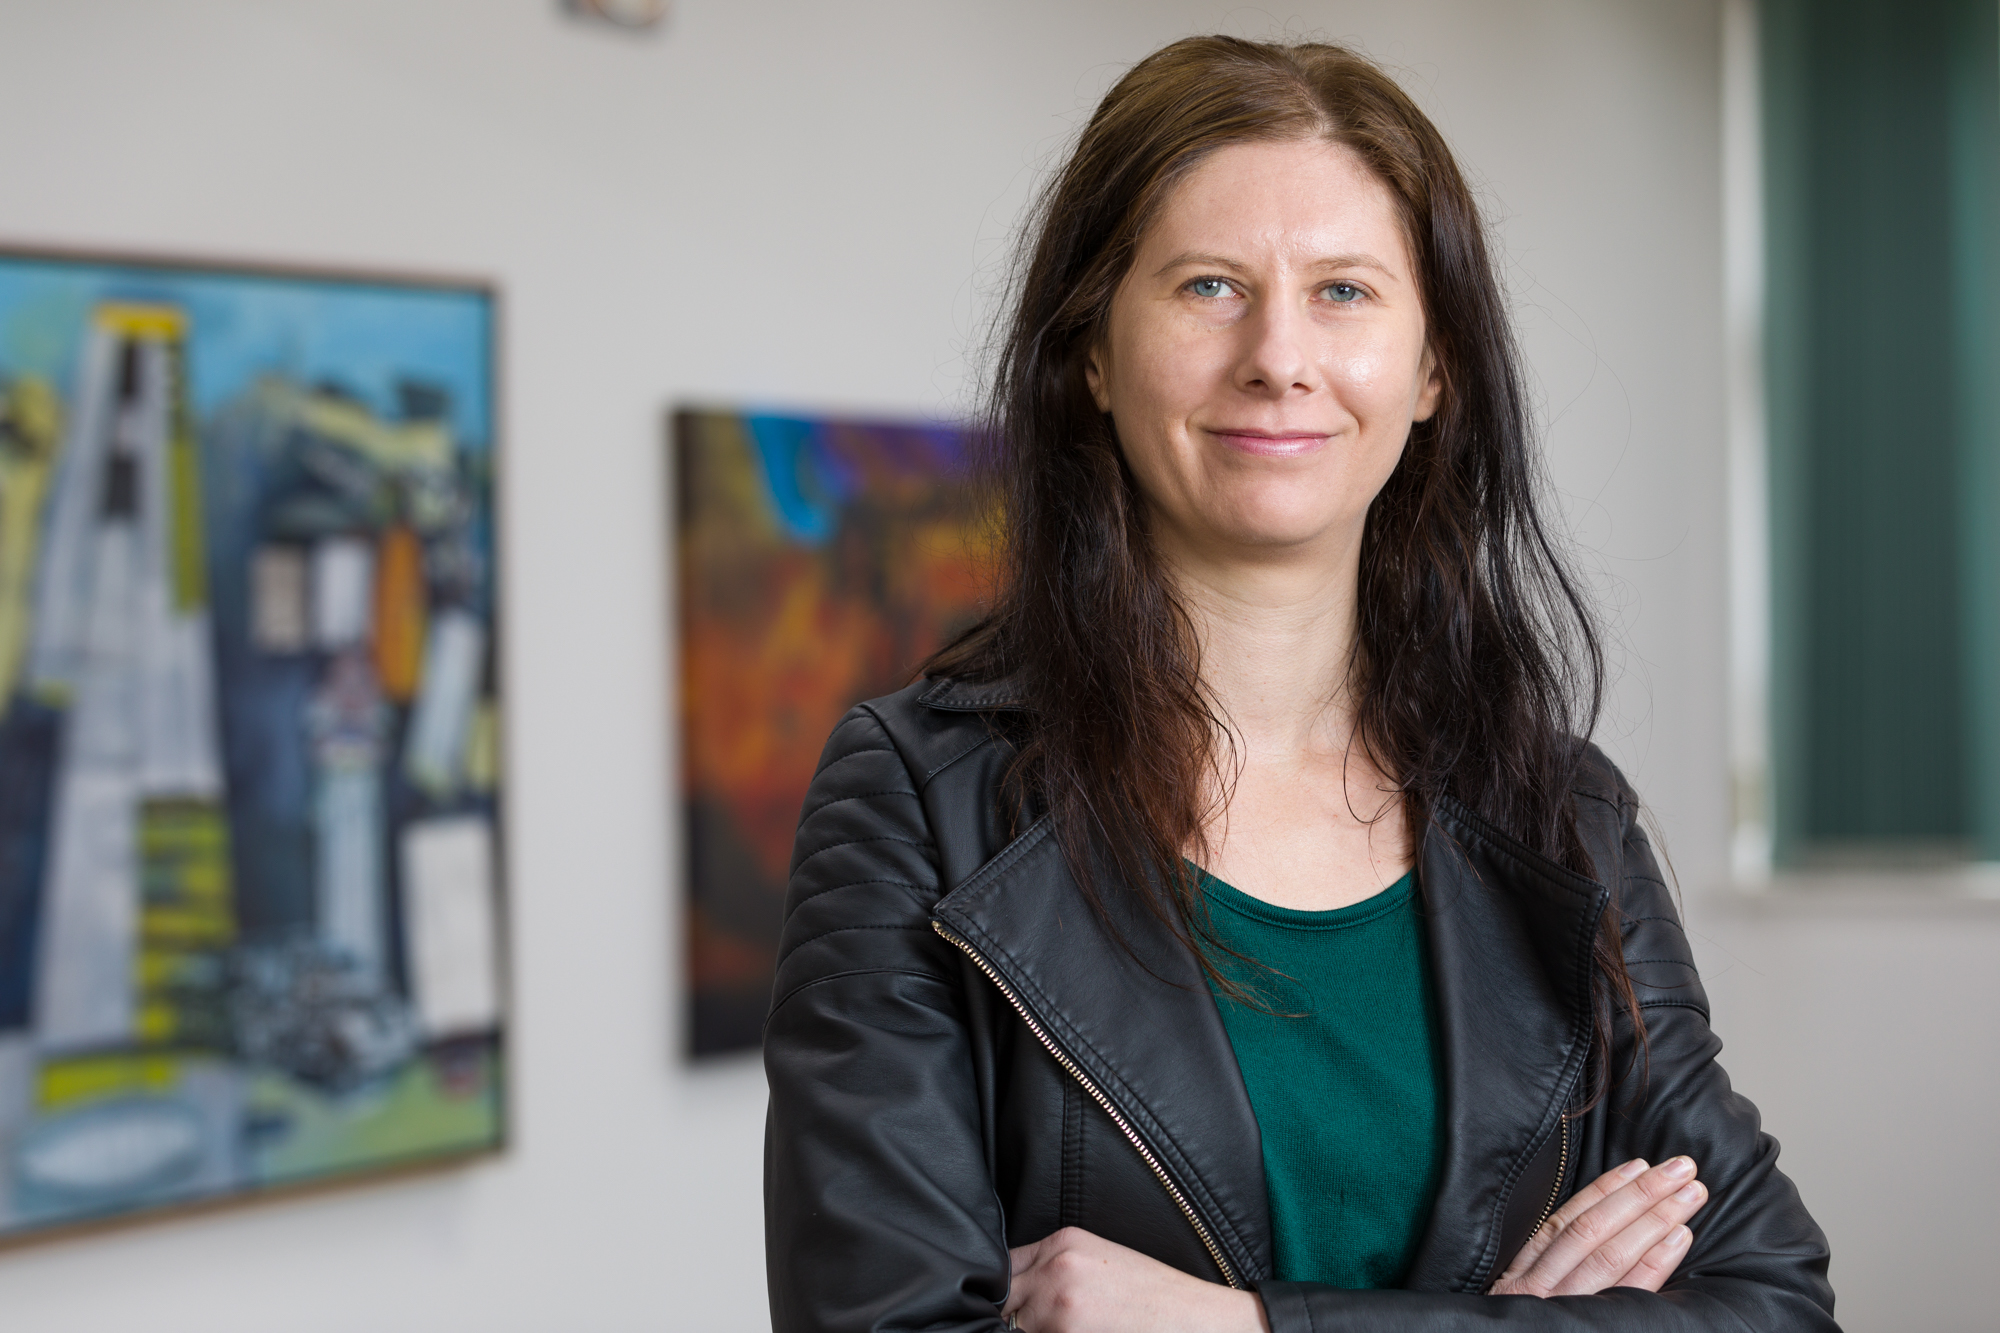
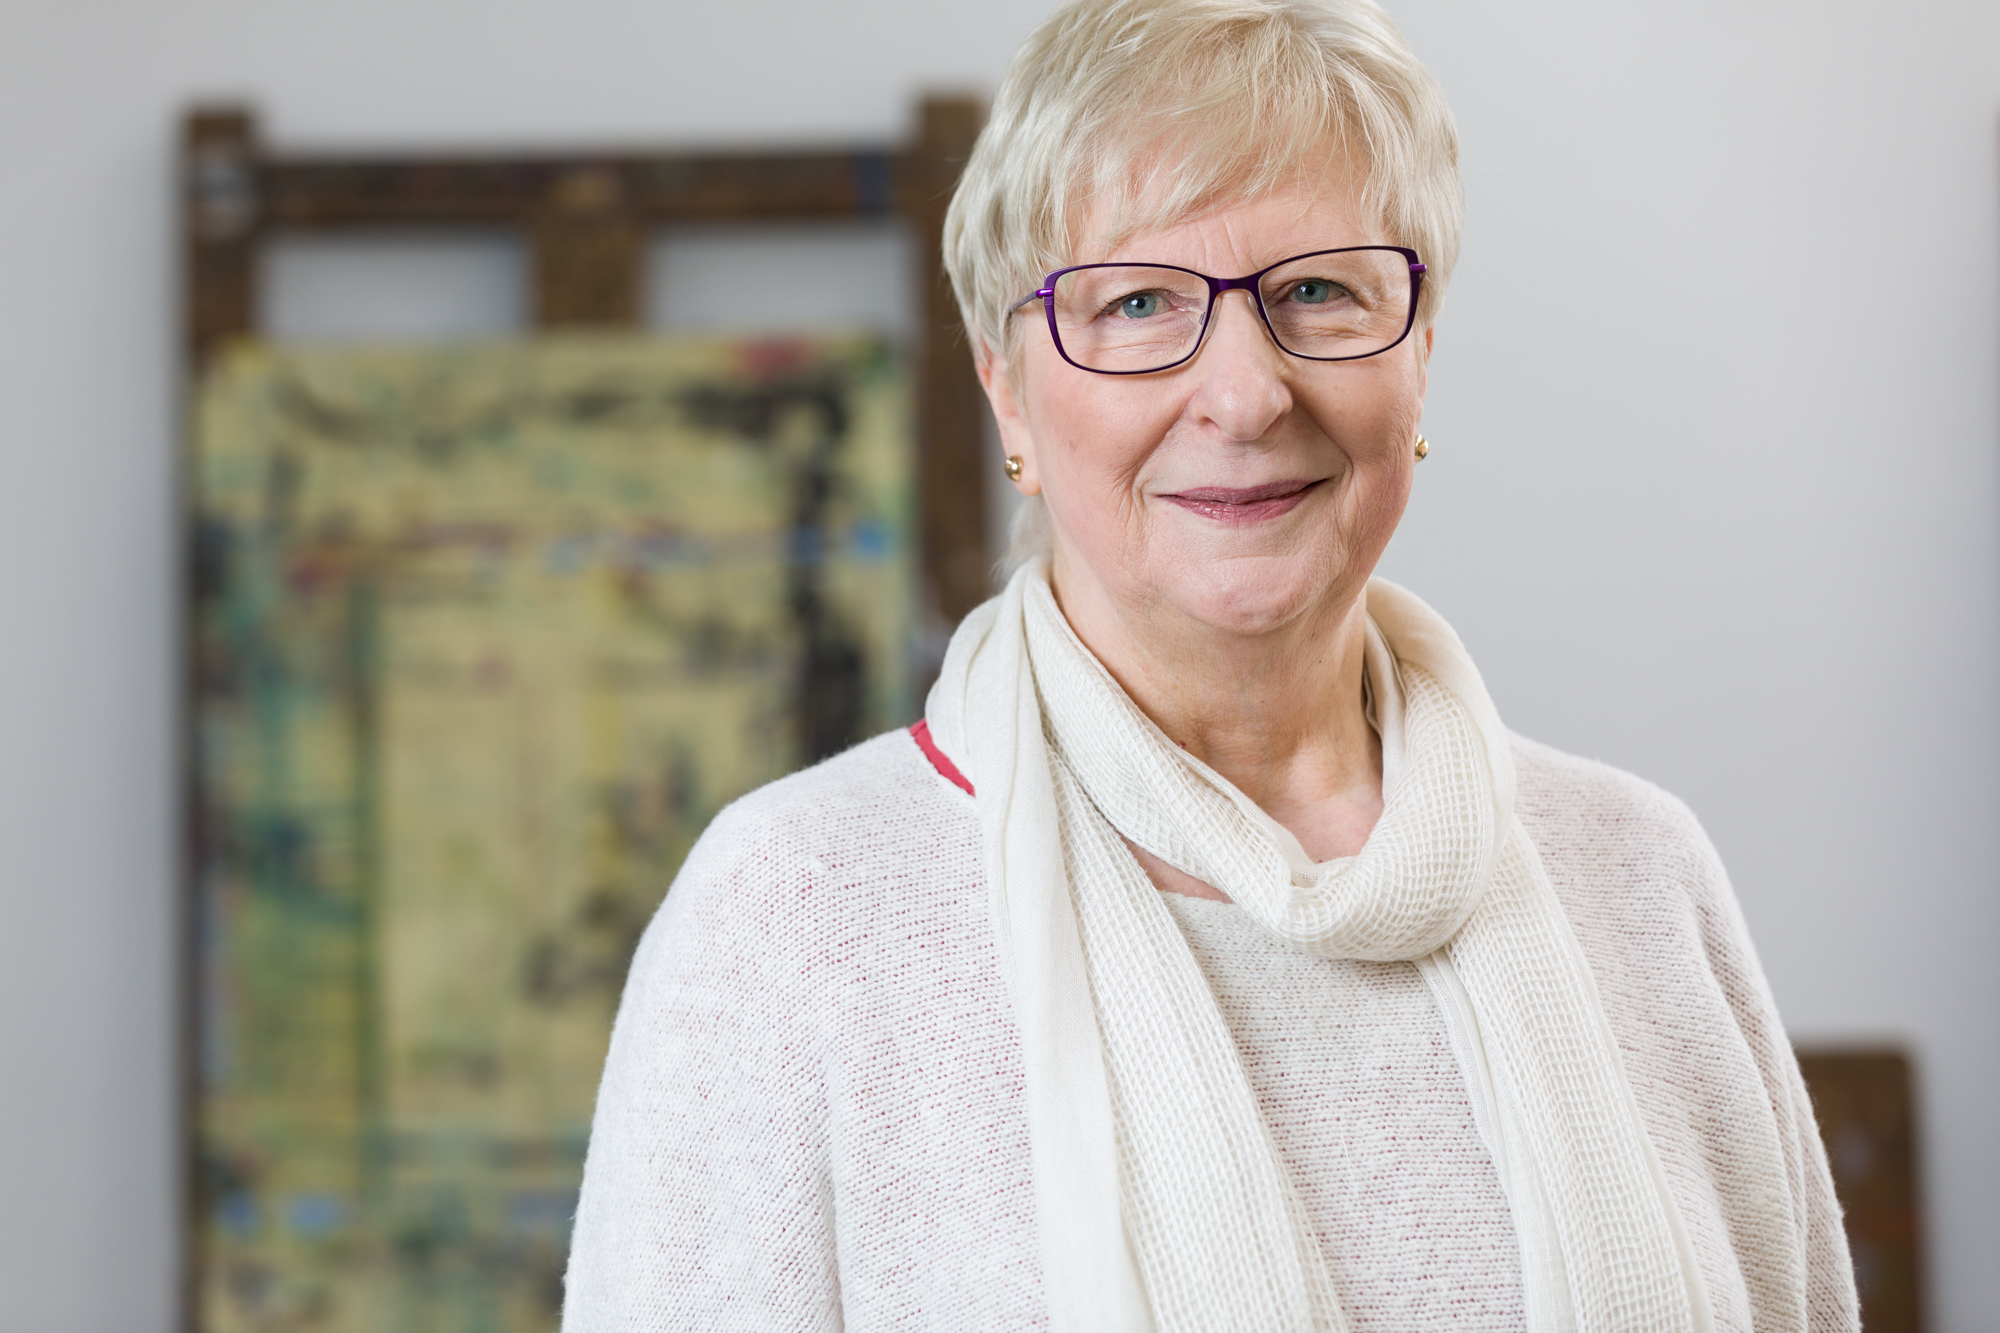
Environmental headshots are where we shoot your headshot on site and the background is relative to your industry. Why is an environmental headshot worth considering? It can give you more credibility and relatability. For example, someone who works in the agriculture sector might choose to have a headshot with an agricultural background, an artist might have their studio as background, an architect – a building and so on. Sounds obvious, even cliched, but subtle point of relatability is worth considering.
STEP THREE
Next, you need to find a photographer. Easy right? Just do a good search on Google right? Mmm, well choosing a photographer will be the most important part of your headshot process. You can choose someone with the best gear with all the bells and whistles but not all photographers are created equal. One photographer might be incredible at landscapes and totally suck at headshots. Make sure your photographer has experience in headshots and ask to see their portfolio. You not only need to see that they can take a good shot, but you also need to see that you like their style.
You need to connect with your photographer. Just like dating, you need to make sure you have rapport and can build trust with them because, as we’ve already said, getting a headshot can be a daunting process. You will need to be vulnerable and trust the photographer will capture you in an authentic, genuine and flattering way.
Talk to your photographer about how the photos will be edited. Will the photographer do it or will they hire a retoucher? I choose to retouch the images myself. This way I don’t go overboard with edits and end up with a photo that is not representative of the real person. Of course, I still soften a few lines, make your eyes sparkle and get rid of blemishes but I’m not going to make you look 30 years younger. In doing that, you lose your character and integrity. I spend up to an hour on each image I retouch.
Headshots photography is a speciality and as my mentor Peter Hurley says “As photographers, we have the innate ability to change someone’s perception of themselves with one click of the shutter”.
STEP FOUR
Next, you need to prepare for your shoot. Your photographer should spend time with you talking about what to wear for your shoot and discussing makeup. Some clothing patterns and colours don’t photograph well and can age a photograph quickly depending on the fashion. Most of all, you need to be comfortable in what you are wearing and that it is reflective of your personality, brand or industry (or all of these factors).
In general, clothing to avoid:
- Pinstripe
- Crazy patterns
- Fluoro colours
- Small checks
- Keep jewellery to a minimum.
In the week leading up to your headshot session makes sure you:
- Drink plenty of water
- Moisturise (blokes as well)
- Use lip moisturiser
- Get plenty of rest (that is the hardest one for most of us at the best of times!)
- Make sure hair is trimmed or neat and clean and coloured if that’s your thing
Your photographer should also run through some posing techniques and instructions with you before you get to the shoot. Here are a couple of videos from the most renowned headshot photographer Peter Hurley. Watch the video ‘It’s all about the jaw!’ and ‘It’s all about the squinch!’. Each video is 15mins but they will help with your headshot session preparation. I’ve trained with Peter, and he really is the best- a top guy and bloody great at his craft. He genuinely is passionate about headshot photography as am I.
STEP FIVE
When you arrive your photographer should go through outfit options with you and run through what will happen in the session. During the session, they should be showing you images and checking in with you to see how you’re tracking. You also need to have little breaks because it is exhausting if not physically, emotionally. Keep drinking water. Breathe. I’m probably making it sound overwhelming but a photographer that takes all these things into account will make it fun and enjoyable and what does that mean? You’ll get some bloody great headshots.
During the session, the photographer should be guiding you on how to pose and give you feedback. Even the most minute of changes or ‘micro expressions’ can change entirely your perception of confidence, friendliness, and knowledge. For example, Peter Hurley uses the term ‘squinching’ which is essentially a lifting of the bottom eyelids which makes you look more confident. Sounds weird huh? But think of the opposite- wide open eyes conveys fear and low confidence- think deer in the headlights.
Also, the height of the camera in relation to you makes a huge statement. Photographers should avoid having the camera high than you. This makes the viewer of your image ‘look down’ on you both figuratively and literally. This is a common mistake with photography especially when photographing women. We want the viewer to be looking up at you, therefore looking up to you.
STEP SIX
Ok, the session is done. Phew. Now there are multiple headshots- how do you choose which ones you like?
Your photographer should make an initial selection of images and provide you with a contact sheet or gallery for you to choose your images for retouching. I often suggest to my clients that they have a few days without looking at the images. Why would I do that? It gives us both the time to separate the experience of the session from the images so you will view them more objectively. First, spend time looking at them alone. Note which ones you like and the ones you don’t and then come back to them the next day. Do you still like them? Sometimes clients will ask a partner, friend or colleague to help narrow down their selection. If you do this keep the number of people to a minimum because I guarantee you, they will all choose different images based on their perception of you and you’ll end up having trouble narrowing the images down. If you are stuck, talk with your headshot photographer. They can objectively help you make your final selection.
Once your photographer has retouched your images, you’ll need to let them know what size (resolution) you need them in. Some platforms have very specific size requirements, for example LinkedIn requires profile images to be 400×400 pixels and a maximum of 8MB; Instagram 110×110 pixels on a 1:1 Aspect ratio: Facebook is 170×170 pixels. And then it is different again for websites and print. Make sure your photographer supplies you with a high-resolution JPEG image as a minimum so you can use it as a ‘master file’ to resize from. Just make sure you make a copy of it before resizing because you can only resize down, not up!
High-resolution copies might also be required for print or other marketing collateral. Using the wrong size image on a platform could result in your image displaying incorrectly, either blurry or distorted. Also having images too large on your website can affect your SEO and page loading. Check with your webmaster on the best size for your website.
As you can see, there is a lot involved in a headshot session both in the planning, shooting and selection stage and it truly is a collaboration between the client and the photographer.
In summary, the best way to get a great headshot:
- Determine how your headshot will be used.
- Find a photographer that specialises in headshots.
- Do some research on the photographer- their style, and get recommendations.
- Talk with the photographer prior to the session to make sure you understand how to prepare.
- Start your preparation a week before your session- drink more water!
- Enjoy your session – (trust me you will if you have a rapport with the photographer)
- Select images after a few day’s break from the session and get the photographer to help if you need it
- Make sure your images are the correct size for the platform they will be published on
Need a bloody great headshot? Let’s talk.


